How to Depot Your MAC Eyeshadows
We take various steps to make our-self looking beautiful. We have to take the support of various cosmetics in order to maintain our looks or to hide some odd thing on our apparent skin. With the passage of time the standards of looking beautiful have been changed to manifolds however, the value of making a unique look remains the same. Everyone likes the beautiful look but few know the painstaking process of makeup. Eyes are the most beautiful parts of our body which not only help seeing the thing but these are the gadgets that project our personality. One can glance into our personalities just by watching the eyes and also he can tell how talented, auspicious and dedicated we are. To increases the beauty of eyes, one has to apply eye shadows give an attractive look. The ways to depot MAC eye shadows demands few precautions to be taken in considered. There can be number of ways to depot the MAC eye shadows but still there are certain things to be kept in mind.


Instructions
-
1
You must have the depotting tools
The very first thing you require for the depotting of eye shadows is that of tools for it. The list is something lengthy but inevitable at the same time. -
2
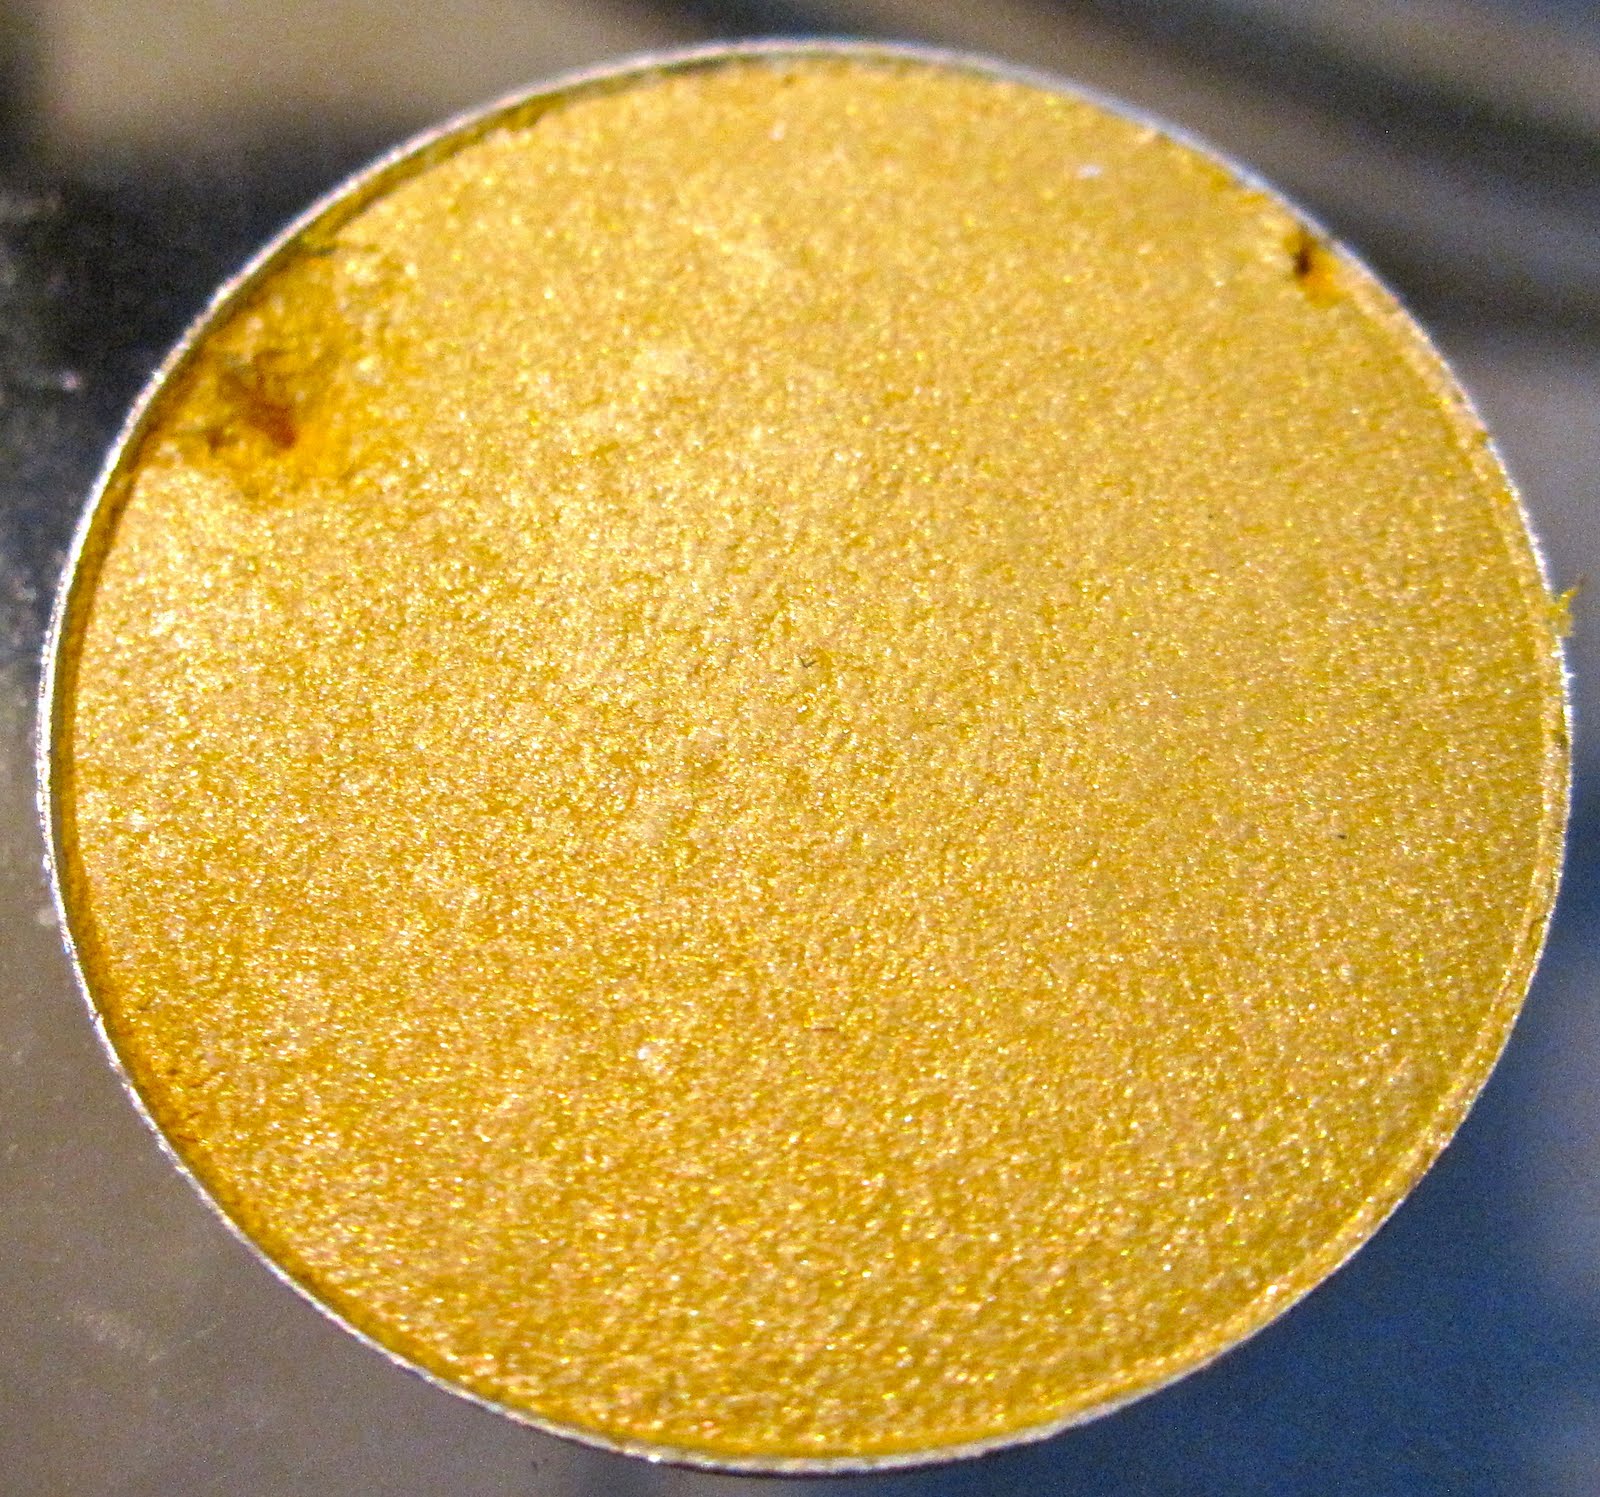
Eye shadow pot
You must have an eye shadow pot to for its depotting in the second step. -
3
Hand towel
The other thing required in this regard is of hand towel to clean the mess immediately. -
4
Hot Iron
An iron set on hot is also the basic requirement for the depotting of MAC eye shadows. It will help labelling the stickers on the depotted items. -
5
Removing the cover
Now start the process by using the tip of your screwdriver, carefully work it underneath the lip of the shroud. It will be easy to start from the front of original pot. -
6
To separate the pan from eye shadow
Now you have opened the pot of eye shadow and need to separate it from shroud. Just scroll the tip of screw between the edges of eye shadow and plastic pot. In most cases it is removed easily otherwise give it a little bit heat. -
7
Fix it another pot
In the last step fix the material in a separate pot and label it.


