How to Add Files to a CD
People who have important data saved on their computer hard drives often want to back it up on a CD. This way, even if the hard disk gets damaged or the files get corrupted for some reason, a back up is always available. Irrespective of the operating system you are using, adding files to a CD is a very easy task. The time required for the completion of this task depends mainly on the size of files being burned to the CD.
Things Required:
– Blank CD-R
– Combo Drive
– CD burning software


Instructions
-
1
Before you start burning your files onto a CD you need to consider the size of the files. Make sure that free space available on the CD is greater than the size of the files you want to add.
-
2
CD-RW and CD-R are two storage CD types. A CD-RW can be used to copy files more than once, whereas a CD-R can only be used once. This means that you can add and delete files from a CD-RW as many times as you want. On the other hand, once you have added files to the CD-R, you cannot remove or modify them.
-
3
Install a CD burning software if one is not already installed on your PC. Nero is one of the best CD burning software. Launch the program and wait momentarily for it to load up and recognize your drive.
-
4
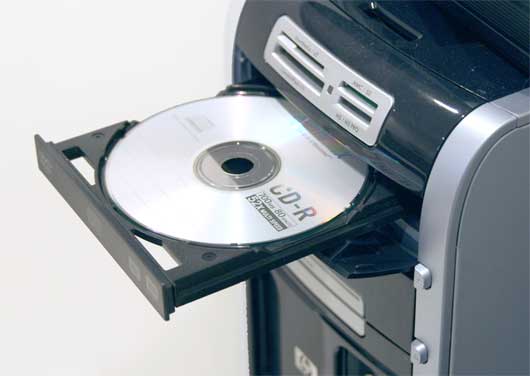
Insert the blank CD in your computer’s combo drive. From the CD burning software, navigate to the files you want to add to the CD. Select all the desired files and choose the burn to disc option.
-
5
Set the CD burning parameters such as the speed at which you would want files to be added to the CD. Slower speeds will take more time, but complete and accurate burning of files will be ensured.
-
6
When the process is complete, you might want to delete the files you added to the CD if you are running low on disk space or no longer wish to keep the files on your computer’s hard drive.