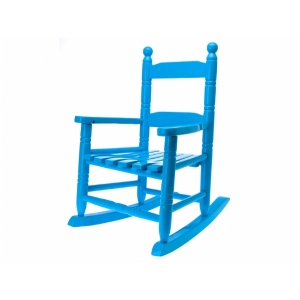
How to Build a Child’s Rocker
Children are considered to be one of the greatest things of all time, which is why so many people seem to like children.
However, children can prove to be rather annoying most of the time, mainly because they are so high on energy and are so hard to please and satisfy. They are always looking to do something and stay moving, but as an adult, your body just doesn’t allow you to do this.
Now a very reasonable alternative to making sure your children get to use their energy, but prove not to be destructive is to build them a rocking chair/ a rocker.
This rocker will make sure that they get all their energy out with all the back and forth rocking, and this will also help them go to sleep every now and then. This means that you can catch two birds with one stone, by simply building a rocker for your child.


Instructions
-
1
Get supplies
The first thing you need to do is to go out and get all the supplies to build the rocker. Now in order to make sure you don’t miss out on anything when you are at the store, a smart thing to do would be to go online and look up all the items that you need to build a rocker.
You are primarily going to need wood, bolts and some nails. You will also need paint and polish to finish everything off. -
2
Get the blueprints down
Once you have all the items to build the rocker, what you need to do is to plan out just how you are going to go about building the rocker.
In order to do this, you are going to have to make some blue prints, and this is going to require you to refer to rocking chairs for adults, and then scaling them down for children, so that they are suited to their size. -
3
Build and finish
Once you have your blue prints in place, the next step is to simply go ahead and build the rocker that you were looking to build.
You are going to have to make sure that you follow the plans that you made down to perfection, there might be some inconsistencies in the rocker.
Once it is built, you need to finish it off, make sure there are no sharp edges, polish it and paint it before letting the child use it.


