How to Build a Trellis Yard Divider
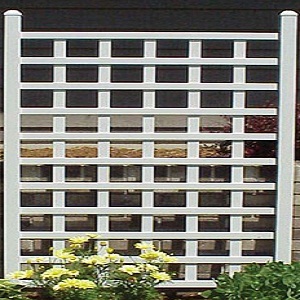
Trellises are beautiful structures that can liven up any yard. They are used for multiple purposes around the yard, as a decoration, support for vines and as attractive dividers. They have an interesting design, famous and loved the word over. They can be built from a number of materials but the most used one is wood because of its natural look in the garden. A trellis can prove to be a wonderful addition to your yard, help you to manage the space without erecting solid barriers like a wall. For gardening enthusiasts, building a trellis can turn in to a hobby projects. However, this is equally enjoyable for all others interested because it is a do-it-yourself one. Follow our step by step guide for it.
Things required:
– Measuring tape
– Spray paint
– Shovel
– Hard rake
– Posts
– Lattice sheet (trellis sheet)
– Marker
– Quick-setting concrete
– Level
– Drill
– 1/4-inch drill bit
– 1/4-inch-by-1 1/4-inch screws
Instructions
-
1
Measurement:
Identify the place you want to build the divider. Determine the length and height of the trellis so that it fulfills your purpose. Make a rough template on a paper. Allocate height for digging trellis base into the ground, below your frost line . Typically, a trellis is well secured if 1/3rd of its height is buried in ground. A freestanding trellis needs to be driven about 2 feet into the ground for good stability.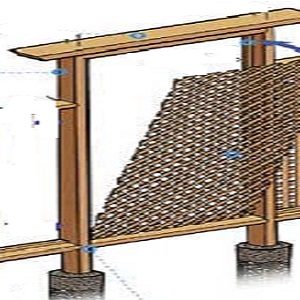
-
2
Cut Pieces:
A trellis frame is build up of two vertical upright pieces which are also known as the posts and two horizontal ones. The horizontal ones frame the outline of the lattice. In the middle of the trellis is the lattice. According to your measurements, cut horizontal and vertical members of the frame using a circular saw.
The vertical length will also accommodate the part to be dug into the ground and around 1 feet to be left above ground to make cleaning easier under the frame. You can also cut out the lattice yourself but since it involves good use of carpenter skills, you might outsource it to the lumber shop.
However, if you want to make the lattice yourself, use pressure treated lumber pieces cut to the size of the frame you want. Lay the vertical ones on the ground and top with horizontal ones to make the pattern. Join with nails or screws at every intersection.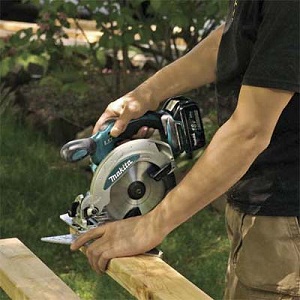
-
3
Build Notches:
From the vertical posts, leave space for the dig in and the one feet empty standing. Mark the point where you will be starting the lattice pattern bordered by the horizontal post.
Use a chisel to make notch points in the vertical posts so that the horizontal ones fit in snugly. Do this for all the points you marked. Of course the notches you make should fit the dimensions of the horizontal posts.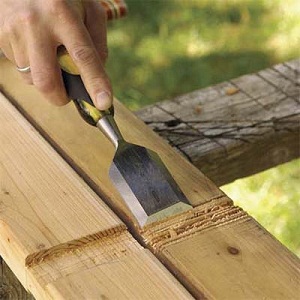
-
4
Make Frame:
Set the horizontal frame pieces into the notches. They should fit in snugly. Secure both the posts together using screws.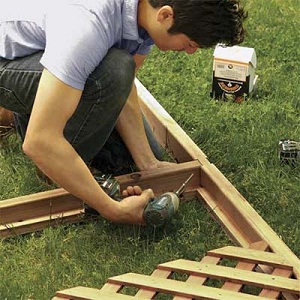
-
5
Add Lattice:
To the space between the two horizontal posts, add the trellis. Secure in using screws. The lattice should fit the frame perfectly or else the whole system will fail and that emphasizes the hard work needed in step one.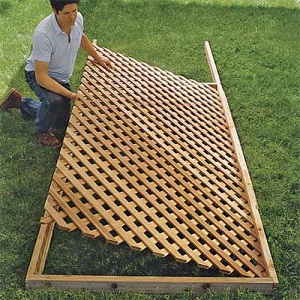
-
6
Install Trellis:
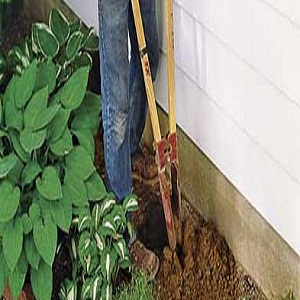
Measure the distance between the centers of the upright posts. Dig a hole in the ground, to the depth where you want to secure your trellis. Tamp the soil well into a smooth surface. Place the trellis posts into these holes and then back fill with the soil you dug. You can also pour in cement if you want more secure posts.