How to Build Utility Shelving
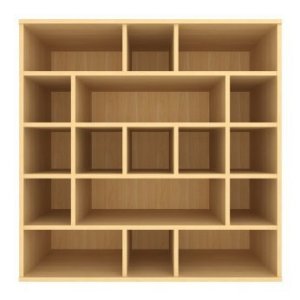
By building utility shelves, why should you take time and spend your efforts? Well, one thing for what you can answer yes. You can customize available area and can make it according to your requirements. As we know that there is not any manufactured shelve that provides you maximum neither space nor gives you easy reconfiguration of any unit. So when you will make by yourself you will consider its most load and make it accordingly. And you can dress it up by using creative ideas like adding side panels or attractive face frame. So build up your motivation and let’s get start learning how we can build utility shelving.
Things Required:
– Wood
– Glue
– Wood screws
– 2×4 material3/4-inch plywood
– Clamps
– Bar clamps
– Hand screw clamps
– Power screwdriver Router
– Stud gun
Instructions
-
1
Mark up area of upper plates on your ceiling
Select the location where you need to build utility shelving. Then mark up on the ceiling for the top plates. There should be one plate flushing against the wall and second should be equivalent to it, 24 inches from the wall to its front edge. Take full length of the utility shelves and then cut 2x4 top plates. And now join them with the ceiling joists with the help of 3 inches screws.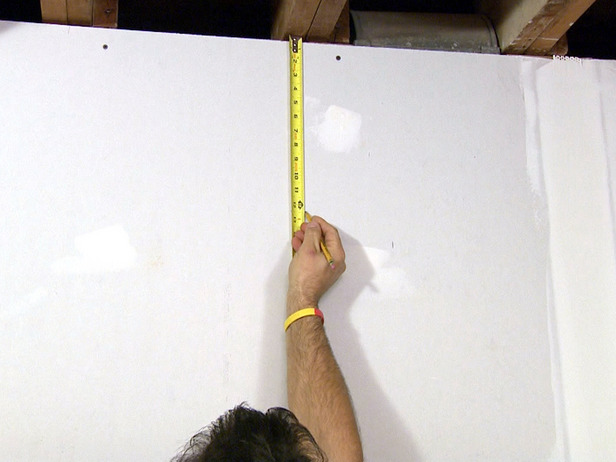
-
2
Find outer sole plate location
Bring a plumb bob and use it for marking up points. Mark points straight beneath the outer corners of the top plates in order to locate the outer sole plate location. Now draw lines perpendicular to the wall and mark the sole plate that connects each pair of points.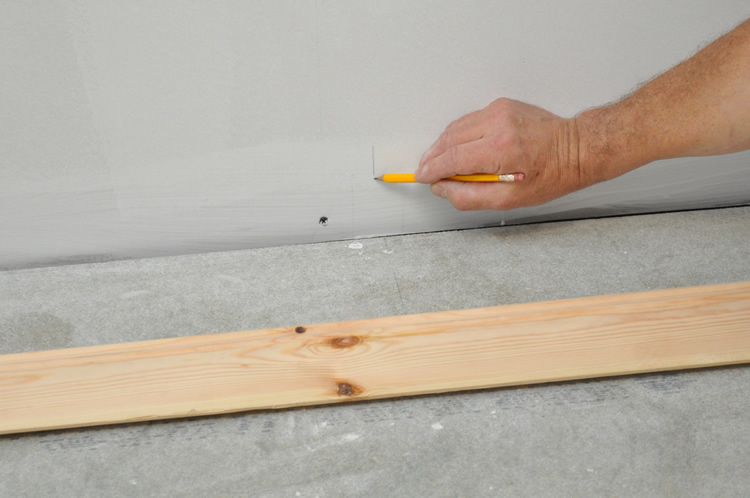
-
3
Cutting outer sole plates
Now cut outer (2x4) sole plates and place them vertical to the wall as per your outlines. If shimming required then do it, after that use stud gun/screws to attach plates to the floor. Now connect a center sole plate central of the external/outer sole plates.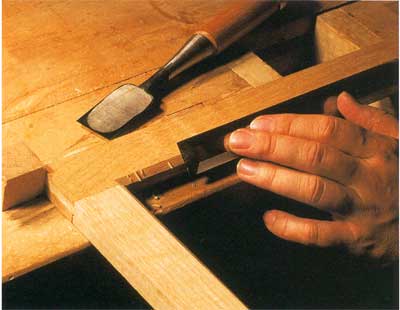
-
4
Organize the shelf risers
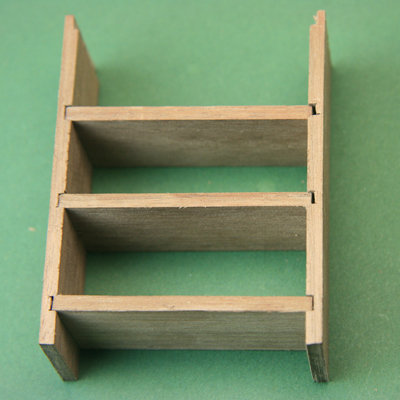
Put the shelf riser after cutting those 7/8 inches wide and ¾ inches long dado grooves with a router. Cut each dado 4 inches long the internal face of every 2x4 riser along with the upper and lower dadoes almost 12 inches from each end. Now cut risers all by placing them in a level, clamping them jointly, and to align dado cut attaching a straightedge guide. Make several passes with router for each cut, slowly extending the bit depth in anticipation of the dodoes are ¾ inches long.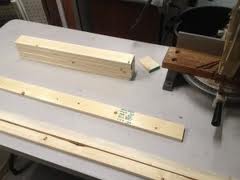
-
5
Trimming the shelf risers
With the help of circular saw and a straightedge guide start trimming the shelf risers to a consistent length prior unclamping them.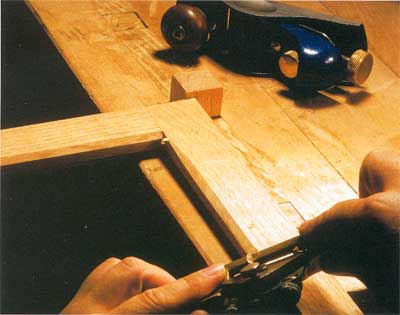
-
6
Build 2-end shelf supports
Now you need to build 2 centre-shelves support by placing shelf riser pairs back to back and then fixing them with 2-1/2 inches screws and wood glue.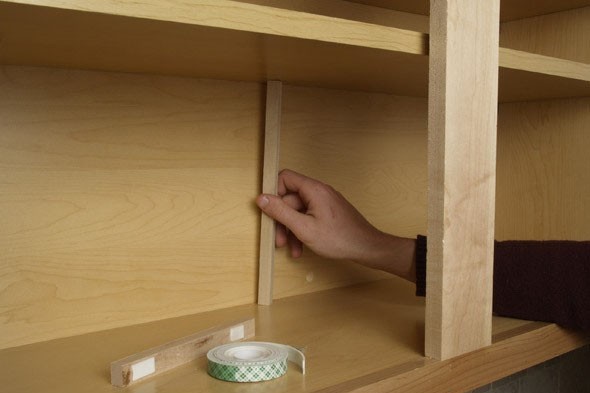
-
7
Build 4-end shelf support
By fixing the back of a dadoed shelf riser next start building 4 end-shelf supports. These should be of 2x4 of equal length, and then attach them with 2-1/2 inches screws and wood glue.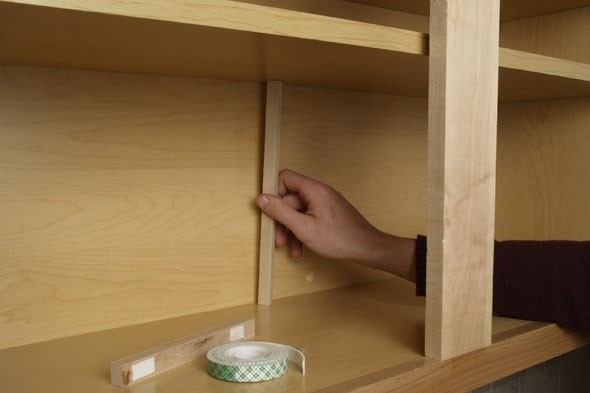
-
8
Attach shelve supports
Now coming towards placing and fixing shelve supports, one by one fix support on all corners of shelve units among the top and sole plates. By driving 3 inches screws at an angle into top and sole plates, attach the supports.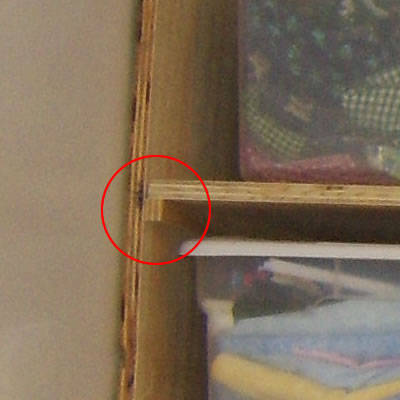
-
9
Fixing the center shelf supports
Mark a center shelf support (using the one with both faces of dados) the center sole plate’s each end. After that attach the shelf support with the sole plate with the help of 3 inches screws determined at an angle.
Now align the center shelf supports at right angel to the upper plated while using framing square, after that screw tight all of them to the upper plates.
-
10
Cut Shelves to fit
Hold the measuring tape and measure the distances of facing dado grooves and then minus ¼ inches, cut plywood shelves to fix. Gently slide the shelves into the grooves and fix properly. So you are done!