How to Calibrate a Joystick in Windows
If you are an avid gamer and routinely turn to the computer to satisfy your gaming needs, then you may already be aware of the impact that a joystick can have on the overall experience. Controlling your playing by using a device that is specially designed for the purpose is far more convenient than using the keyboard.
If you are attaching a joystick to a computer for the first time, you will need to calibrate your input device first. However, if your system is running a version of Windows, then you are surely in luck. Microsoft has included a tool in its operating software which is designed to assist users in the calibration process.
Things Required:
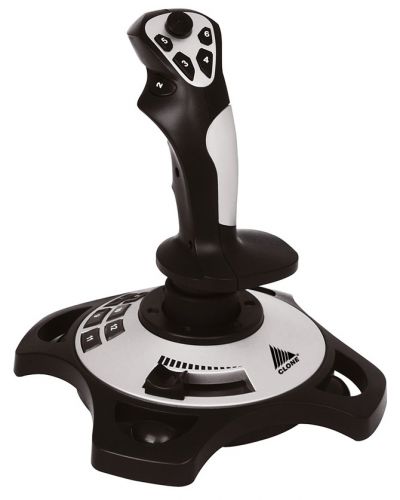
– Joystick
– Computer
– Windows


Instructions
-
1
Attach the joystick to your computer while it is still switched off. Make sure you have properly inserted the USB connector of your device cable into the USB slot on your computer. Once you have ensured that the connection is not loose, switch the system on.
-
2
Wait for Windows to boot and the desktop to load. Once you are at the desktop, click on the start menu button at the bottom-left corner of the screen and click on “Control Panel”, which will be typically located in the right column on the main menu.
-
3
Once you are in the Control Panel window, locate and double-click “Game Controller” to access the tool.
-
4
Your joystick should be listed in the “Installed game controllers” section. If it is not listed, click on the “Add” button and then manually add it to the list of input devices by selecting its type.
-
5
Once you have made it appear in the “Installed game controllers” section, right click on it to bring up the context menu. Click on the “Properties” option to access your device’s properties and then click on the “Test” option.
-
6
Follow the directions and procedure that appears on the screen to test your joystick and see if it is responding properly.
-
7
Now, locate the “Calibrate” option in the “Settings” tab on the “Properties” window, and click on it to start setting up your joystick. Clicking the “Calibrate” option will launch the “Device Calibration Wizard” to guide you through the process. Simply follow the on-screen instructions and click the “Next” button after doing what the wizard asks you to do.
-
8
Move the joystick in all directions to calibrate the x and y-axis. You will be instructed to press the buttons on your device by the wizard.
-
9
Once you have followed all the instructions, the wizard will inform you that your input device has been successfully calibrated.
-
10
Your joystick is now ready for gaming.


