How to Change the U-joints on a Car
Maintaining your vehicle properly and taking good care of its every part certainly adds more life to it. Although the entire vehicle gets older with usage and passage of time but there are certain parts which get worn out more quickly. U-joints of a vehicle are among such parts which might need replacement on periodic basis. If you feel any noise, vibrations or rumbling while driving or while the driveshaft turns, you should realise that it is time to replace the U-joints. You have to follow a similar procedure for replacing these joints for most types of vehicles but it is better to consult a automotive repair guide before beginning the replacement work.
Things Required:
– new U-joint
– hydraulic jack
– Allen wrench
– a clean piece of cloth


Instructions
-
1
Place your car on a flat surface and turn on the transmission to neutral, as it will make it easier for you to remove the driveshaft and replace the U-joints. Make sure you place blocks against the rear wheels of your vehicle so that it might remain completely static.
-
2
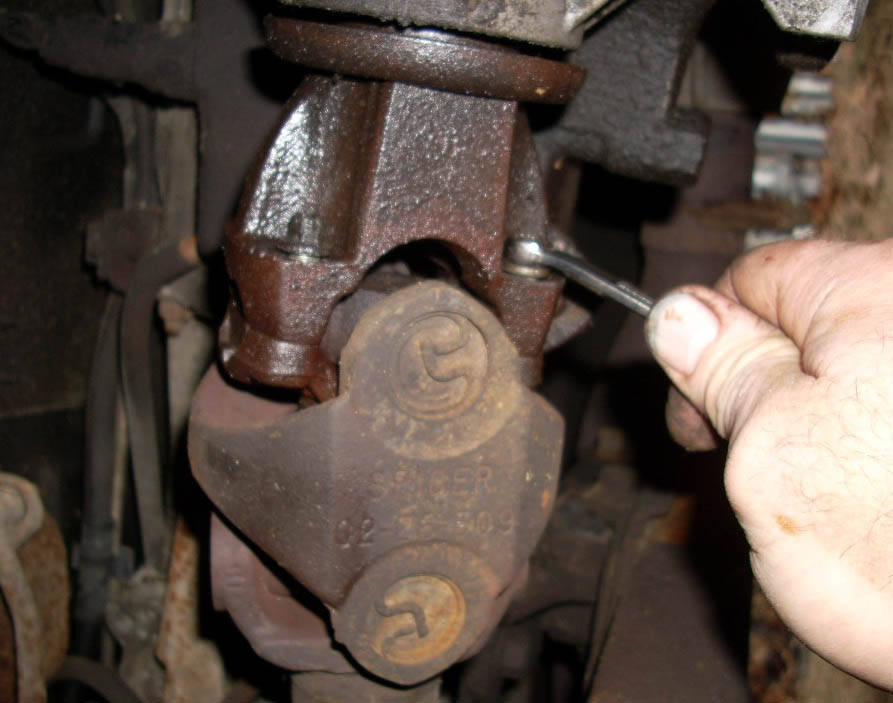
If you are having a heavier vehicle, you might need a hydraulic jack to lift off the side of it having the clocked wheel. Roll under the car and start loosening up all the nuts holding the U-joint and the driveshaft in place. You can use an Alan wrench for this purpose.
-
3
Tap the nuts with rubber mallet to loosen them up and then carefully remove them from their position.
-
4
Take out the driveshaft by carefully pulling it towards the front side of the vehicle and freeing it from the yoke. Pull it backwards and make sure yoke comes off the output shaft in transmission.
-
5
The transmission fluid might leak and you better stuff a clean piece of cloth into the hole.
-
6
Place the driveshaft on a bench and secure it with a vise. You better mark the place of the shaft and the yoke to make the reassembling process easier afterwards.
-
7
You will need needle-nose pliers for removing the retaining clips on all the four caps.
-
8
Put the U-joint tool on the yoke and then push one cap out of its place until you can remove it completely. This process is to be repeated on all four caps and then you can easily remove the cross part of the old U-joint.
-
9
Place in the new U-joint and replace the caps as before. Repeat the previous steps in reverse order to reassemble all the parts.