How To Check A Car Battery
Good battery maintenance will help prolong the battery and save you a few dollars along the way.
Most people do not think of the battery is something that needs attention. The reality is that all batteries, even the so-called maintenance-free types, should receive an annual check-up. The best time is probably in the fall, just before the cold weather settles in.
If you have to replace your old battery, replace it with one that has a high reserve capacity, amperage hour rating and cold cranking amps. Be sure that the battery you buy is the correct size for your vehicle. It must fit snugly in the battery hold-down clamps. The new battery should have the terminals in the same place as the old ones. Battery cables are usually short and will not stretch to fit a terminal in a new spot. It is best to purchase a maintenance free battery. Check the condition of the battery hold-down’s and battery cables. A cable that is falling apart or cannot be adequately tighten into the terminal should be replaced along with the battery.
Tools required:
Terminal puller
Wire brush
Hydro meter/battery tester
Voltmeter
Nylon scrub brush
Battery charger
Kitchen baster (don’t give it back to the wife after you’ve used it!)
Materials / Parts:
Distilled water
Battery cleaner product
Toothbrush
Toothpicks
Rubber gloves


Instructions
-
1
Start by unscrewing the battery terminals and any hold-down’s that secure the battery in the vehicle.
-
2
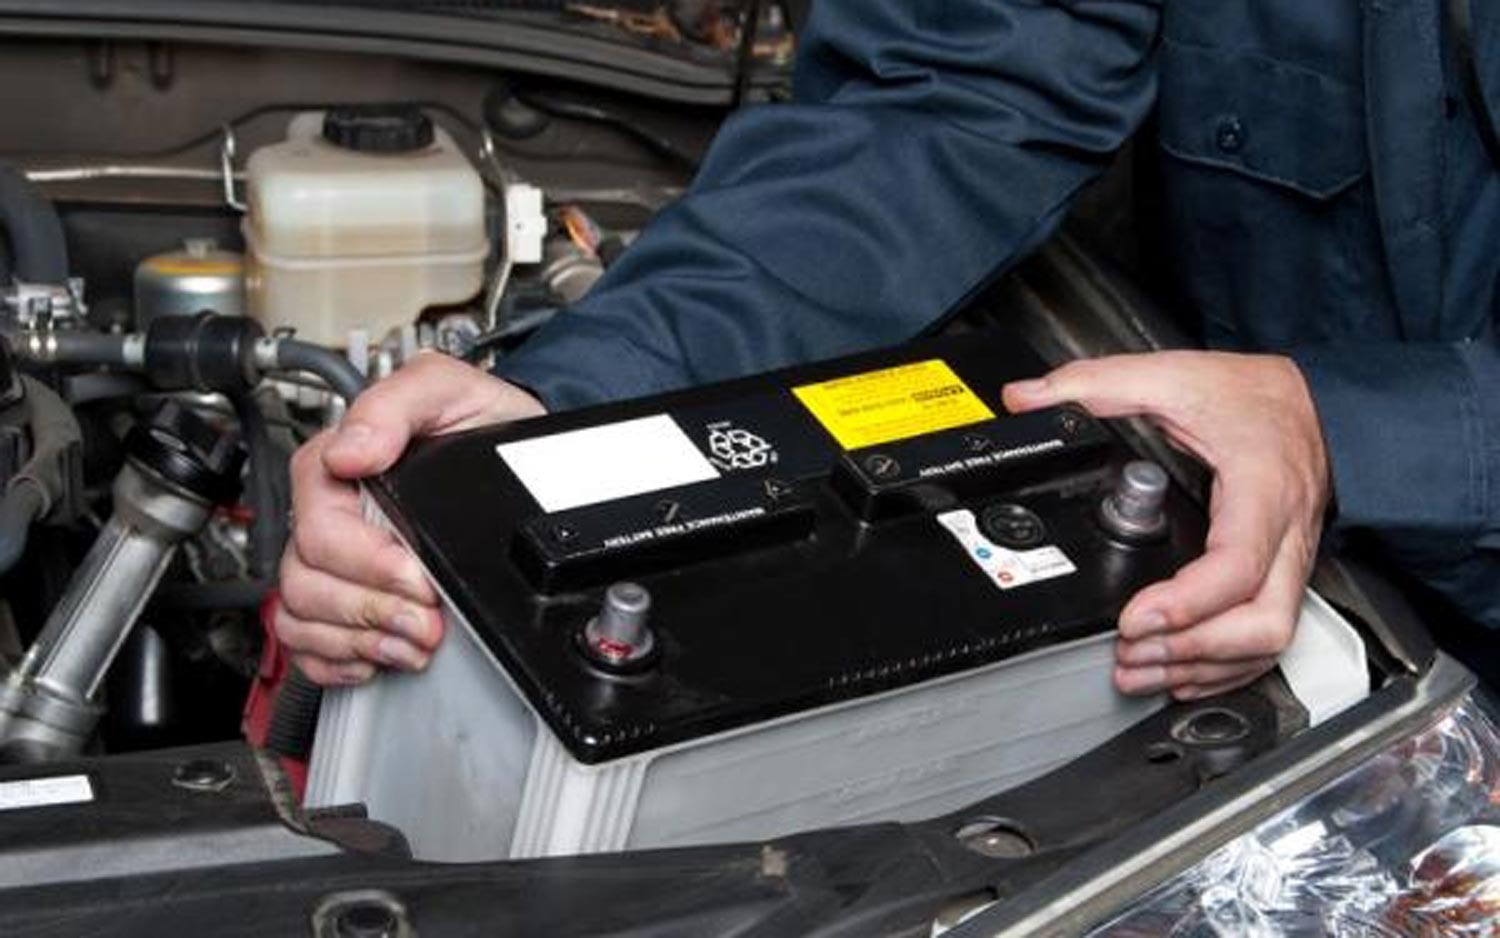
Remove the battery from the vehicle using rubber gloves (make sure to write down any radio codes that would be required once the battery is reconnected).
-
3
If you have a non-sealed battery, purchase up Hydro meter/battery tester (which measures the specific gravity of the battery fluid) and use it to measure each cell of the battery. Remove the battery, insert the Hydro meter and suction out a quantity of battery fluid. The Hydro meter will indicate the level of specific gravity or charge (1.25 being a good level; see instructions supplied with your Hydro meter). Write down the number you get for each individual cell if any two cells differ in specific gravity by more than .05, you are probably going to have to replace the battery.
-
4
Purchase some distilled water at the grocery store and use it to slowly top off the water level in each battery cell ( a kitchen baster is a good tool for this).then replace the caps.
-
5
If you have a maintenance-free battery, you will need a full meter (which measures the voltage of the battery). Attach the volt meter leads to the battery terminals (positively to positive terminal, negative lead to negative terminal). The voltmeter should indicate at least 12.0 volts. If it does not, recharge the battery.
-
6
Clean the battery with a mixture of baking soda and water. I nylon brush comes in handy, and you may need to plug any cell Vents with toothpicks. There are also battery cleaner products available at auto parts stores that you can use instead of baking soda and water.
-
7
Flush the case with water, then wipe dry. Removing the surface grime prevents the build-up of path where current can lead between the terminals, slowly discharging the battery.
-
8
Remove each battery cable. Use a terminal puller to avoid having to pry on the battery case, which is easily cracked.
-
9
Wearing rubber gloves, use a wire brush or battery terminal cleaner to remove corrosion from the terminals and clamps.
-
10
Once everything is clean, apply a film of petroleum jelly and reattach the cables. Do not over tighten the cable clamps, as you can crack the case or break the clamps.
-
11
Remove the battery hold-down, remove any corrosion and reinstall.

Materials / Parts:
Distilled water
Battery cleaner product
Toothbrush
Toothpicks
Rubber glovesNext%20stop%3A%20Pinterest "Pin It")


