How to Check Your Vehicle\’s Oil Level
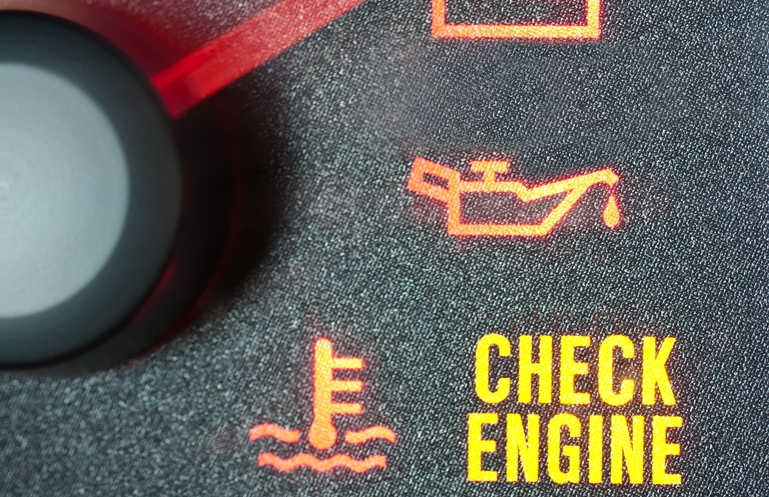
If you have recently bought a car or own one since some time, it is very important that you learn proper maintenance techniques to ensure your vehicle remains in top-notch condition. Moreover, you can effectively increase the life of the parts in your vehicle with proper care. The engine is no doubt the most important mechanical component in your car, and given how much wear and tear goes on inside an engine, it is imperative that you reduce the friction as much as possible to prolong its life. This is where oil is essential and checking its level regularly is so important. Keep reading this article to find out when and how you can properly check the level of oil in your car.


Instructions
-
1
Before you can check your oil level, make sure your engine has been turned off for at least 10 minutes and has cooled down.
-
2
Depending on whether you have a front-wheel or a rear-wheel drive, and whether your engine is a transverse or an in-line type, your oil dipstick will be located towards the front or the rear respectively. You will need to take this dipstick out to check the level of oil.
-
3
The dipstick will have a holding knob or loop on the top, which you can use to pull it out. Once it is out, it is recommended that you wipe it clean with a cloth and dip it back into its slot. This is to ensure that you get an accurate reading.
-
4
Now take out the dipstick again and note the level of oil it shows along its length. Most dipsticks have levels marked on them, telling you when to add more oil. If the level is low, you will need to add more engine oil as soon as possible. Moreover, if the oil appears dirty or smells like gasoline, you will need to have it replaced.


