How to Clean your Computer Keyboard
We hardly cover keyboard after using it. Even during work, snacks and caffeine-powdered drinks become our close companions. Since most of the users don’t care much about the keyboards, they eventually attract plenty of dust and dark patches, especially the white ones.
As a result, a keyboard starts to look like a piece of dirt. It gives a very bad impression. For example, your girlfriend is at your place and wants to have a look at her Facebook account. What would she feel when watching a filthy keyboard?
It is always good to keep your keyboard clean. It not only gives a good impression, but also avoids any possible fault. The dirt will eventually go inside the board and affect its performance.
In order to protect your board from crumbs, grease and sticky soda stains, you must take an initiative right away. The recent researches have made it clear that a dirty keyboard may have more bacteria and filth than a toilet seat.


Instructions
-
1
First of all, shut down your computer. The best way is to unplug the keyboard and take it to an open place.
-
2
Tilt the keyboard in order to remove any dry dust. You can always use a dry cloth to remove the upper layer of the dust. If available, spray compressed air in between the keys.
-
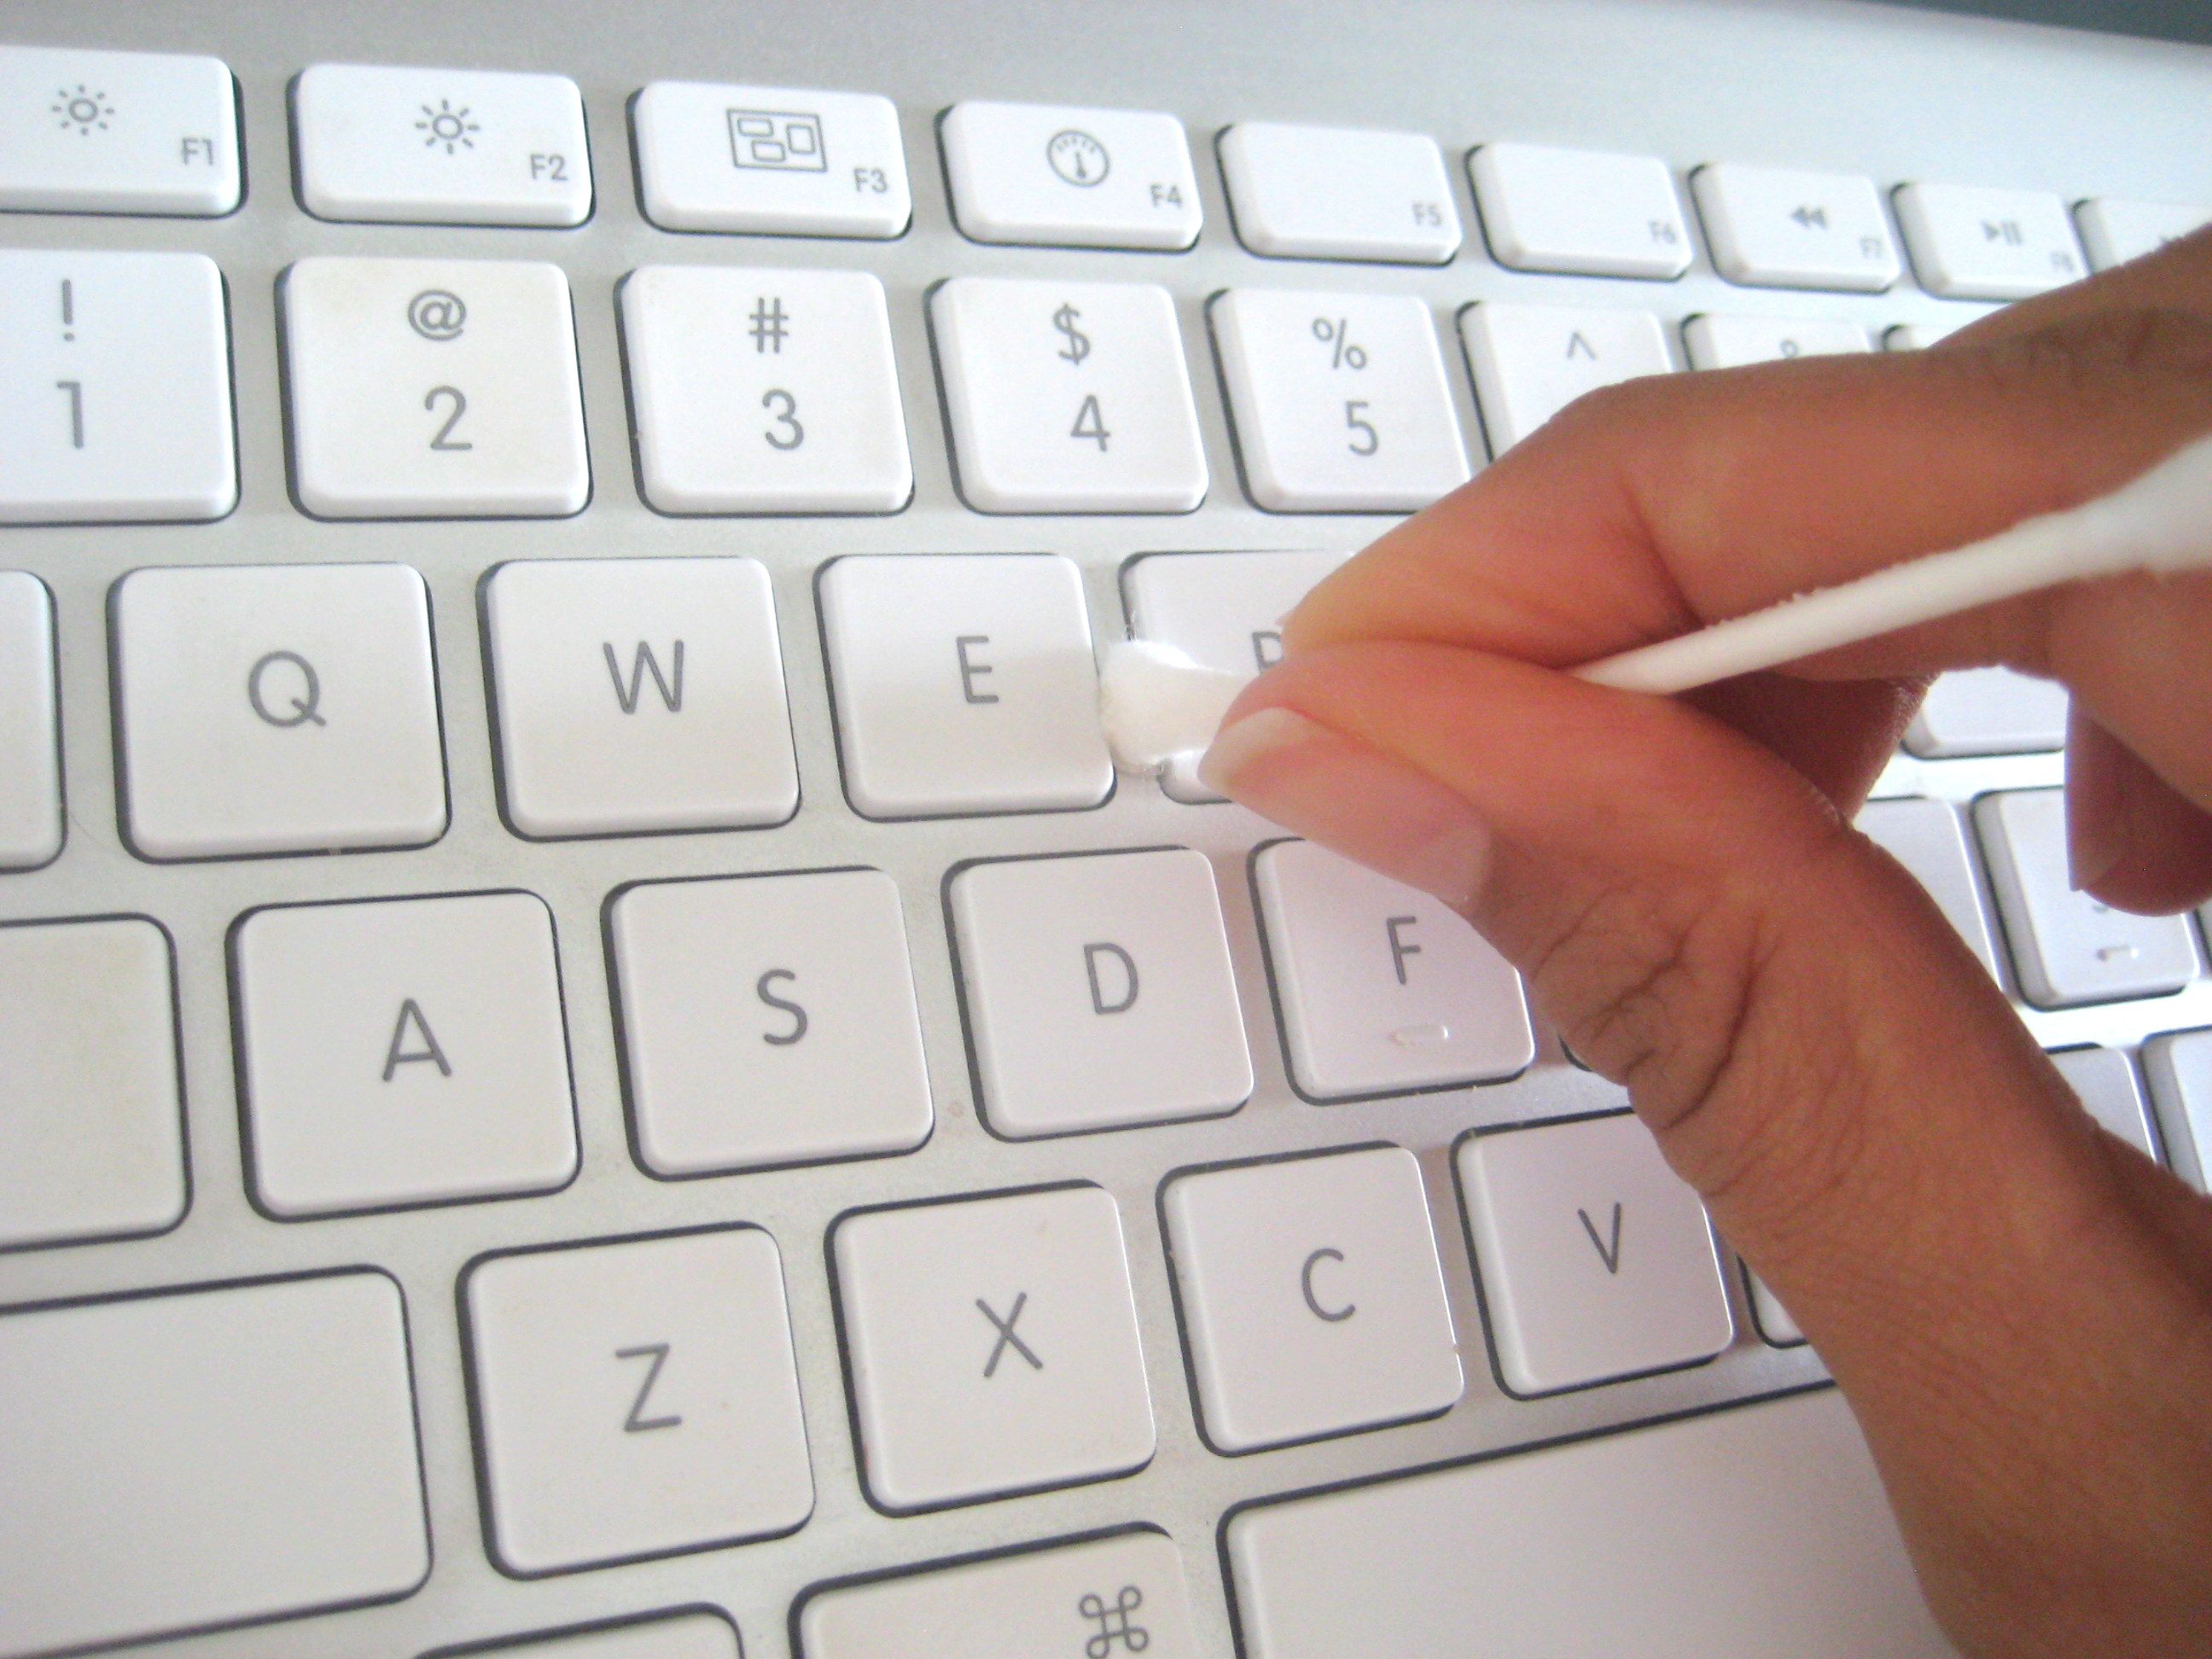
3
Once the outside part is cleaned, it is time to go ahead. Damp a cotton swap with isopropyl alcohol and rub it in the area surrounding each key.
For this, you should use multiple swabs to get better results. Be very patient, because it may take plenty of time to clean every key separately. -
4
Now take a medium piece of cloth and dip it into the isopropyl alcohol. Rub the tops of all the keys and the main surface of the board. Use more rubbing alcohol, if required. You can also use a toothpick to scratch out the dust sleeping in the corners.
-
5
Once the whole dirt is gone, use a dry cloth and polish the surface. Don’t plug it back until it is completely dry. You can also clean the wire with a tissue paper. You board is now germ-free and ready to use.
-
6
If, by any chance, you feel that the keys are fully not cleaned yet, remove them one by one. It is a lengthy procedure and there will be chances of serious damage. After cleaning all the keys separately, put them back on the board. Give the keyboard a few minutes to dry.


