How to Convert your Photos into a Paint-by-number Pattern.
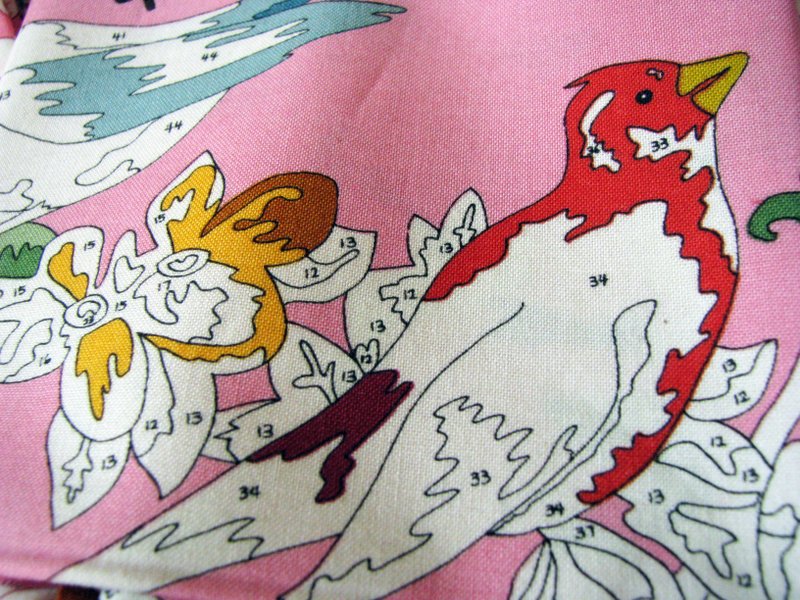
There are a lot of interesting painting techniques available on the Internet and Paint by numbers is just one of them. Its simplicity and yet beautiful results has made it really popular among users who want to make an interesting photo even more interesting. The programme converts a photo taken by any kind of camera and later transferred to the computer into a black-and-white drawing with certain sections that are numbered. These numbers correspond to the colours. When the artists paints in these sections according the numbers on them, the original image is revealed.
Learning to use Paint by numbers is easy and guaranteed to provide enjoyment to people of all ages.


Instructions
-
1
Shoot a photo that you want to convert into a Paint by Number pattern using a digital camera, web cam or even a camera phone. Make sure you take the photo in a well-lit room, with the focus of the camera set on the object that you are taking the photo of.
-
2
The first thing that you need to do is to download Color by Numbers. Look for the version 2.0 or higher. Use Google search engine for your convenience to search for the latest version of Color by Number. You would most likely come across a trial version of the programme, allowing you to try it for 15 days.
-
3
Once you have downloaded the Color by Number installer on your computer, launch it and specify the location where you want the programme to be installing. The installation wizard will guide you through the process.
-
4
Transfer the photo that you have taken with your camera to your computer through the help of a USB cable.
-
5
Launch Paint by number by locating its icon on the desktop and clicking it. On startup, you will be reminded that you can try out the programme for 15 days. Give your confirmation by clicking “OK.” You may also be required to choose whether you want to use the “Graphical” version of the programme or “Standard” one. Choose the former.
-
6
Now locate and click “Open Picture From Disk and browse to the folder where you had saved the picture. Select it and click “Open.”
-
7
Make whatever changes you want to make to the picture such as rotating, flipping or cropping it.
-
8
Now click the “Smart Tune” button. Depending on what your photo needs to make the colours stand out, your photo will become brighter or darker. In case you are not happy with the results, you can always click “Reset” to undo the effect of Smart Tune and then start over again.
-
9
Now choose a brand. There are different brands of colours and paints, with the variety of colours depending on which brand you have chosen. After clicking “For Brand,” click “No” to save changes. Click “Finish.”
-
10
View the original and converted picture or the painted pattern by clicking “View.”


