How to Create a Fireplace Mantel
One of the centre pieces of any household is the fireplace. The fireplace can be the focal point of any house hold, if it is built right. This is because it can prove to be captivating and draws just about everyone’s attention towards it. At the same time, the fireplace is usually the place that most choose to display their photos or any precious possessions that they might have. The fireplace helps give any and every household that homey feel that everyone strives to achieve.
Now in order for a fireplace to get that extra customized touch, you may need to build a mantel around it. Building a mantel is actually not that hard to do and if done right, can make the fire place look significantly better than it did before. All you need to do, is make sure you don’t make any wrong moves while building the fire place and you are good to go.


Instructions
-
1
Purchase and cut wood
Firstly, you need to go ahead and purchase the wood that you will need in order to create your mantel. Make sure you buy adequate amounts of wood so that you don’t need to go back to cut more.
Once you return with the wood, you need to cut them out to the proper length. Cut them so that there are two pieces that will make the lengths and the base of the mantel and one piece that will sit on top of those two pieces. -
2
Locate studs and attach mantel
Now before you attach the wooden pieces to create the mantel, you need to first locate the studs in the wall and make sure you don’t damage them.
You also need to make sure that everything is level while you are attaching the wood to the wall, because you don’t want items rolling off your mantel.
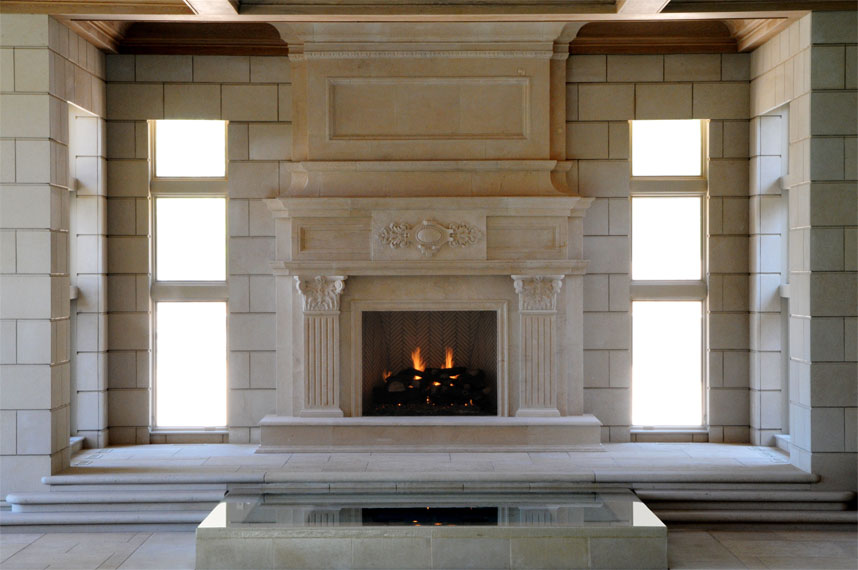
Image Courtesy: mcrwooddesign.com
-
3
Decorative trim
Next you need to create some decorative trim with wood, which will give your mantel the ‘X’ factor. This trim can be created in any manner and to your liking since it is going to decide how the mantel will look once it is complete.
Once you create the trim, you need to attach it to the frame of the mantel that you attached to the wall earlier.
After you finish doing this, you can finish up and smoothen out any rough edges, while adding color to the mantel if you want.
Image Courtesy: jensenwoodworks.com


