How to Create a Food Menu for a Restaurant in London
Food is a big business in London. Starting a restaurant is one among the main sources to make huge money. It is the only business in London, though, that will always have a demand. However, you have to be very different from the already existing restaurants in order to survive in the tough market conditions.
Apart from the food, the next most essential part of any restaurant is it’s menu. At the end of the day, it will tell your customers what you offer.
Follow the below ten steps to figure out how to make a menu for your restaurant in London:


Instructions
-
1
Check out your competitors
Study your competitions before starting work on your own menu. Go through their websites, look into the food and cuisines they offer and check out their prices in order to come up with something different from them.

-
2
Choose the dishes to offer
After a thorough study of your rivals, now make a list of dishes your restaurant will serve. Try to bring innovation in your menu in order to provide your customers with something new. Creativity and innovation is the hidden agenda behind the success of your restaurant menu. Offer variety of food keeping in mind customers from different parts of the world. Add something for children, vegetarians, and vegans. You can also add few low-calorie or heart-healthy food items in order to make your menu customer-friendly.

-
3
Select prices for each item
Now carefully decide how much you will charge for each of your dish. If you charge $14.00 for a Cottage Pie and your close competitor offer $9.00 for the same item, you had better be adding something fantastic to you Cottage Pie to justify your high price. If not, who do you think your clientele are going to of repeated?
Do not forget that the low price products usually come at the top of Menu.

-
4
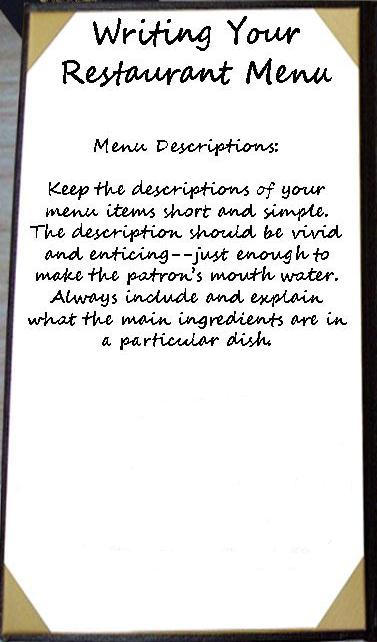
Write descriptions based on your restaurant's style
Try your level best to describe each of your items in an impressive manner so that it should make a customer’s mouth water. Clearly explain what is in a dish, and use native names if they match your dishes to add a bit of pure style to the menu description.

-
5
Break down the sections of your menu
Arrange the items in a sequence, making separate portions for desserts, beverages, soups & salad and others. It is a crucial task to have all the sections of the menu manifestly identified, by boxes, either borders or simply bold headings.
The more full figured the font of the heading, the more impressive your menu will seem. Use simple up and down fonts if your restaurant is less fancy as compared to rest of the competitors. Name of the items should be in bold on the left side of the menu with the prices in small un-bold fond. Additionally, keep it in mind that the beverages section usually goes at the very end--the most obscure spot.

-
6
Choose photos
Add pictures to your menu. All you need is a self-explanatory picture or design on the front of the restaurant’s menu. Good-quality images will often help an item sell better.

-
7
Pick colours for your menu
Now select right colour for right dish. You can simply get ideas from the colours of the decor in your restaurant and surrounding. Golden colour is considered elegant in food industry, and bright colours, such as those in a basic crayon box, are usually less attractive.

-
8
Create primary copy of the menu layout
Now it is the turn to make basic copy of the menu layout. You can simply use the free templates available online. Simple software is available in the market that is particular for menu design purpose. In addition to that, you can take help from the word processing programs

-
9
Select the final layout
Go through the preliminary mock-up; proof read it in order to avoid errors that can create negative image. Go through it repeatedly to make your menu error free. Present the copy to the owner or any other responsible person of the company for final approval before sending the wp-content/uploads to the printer.
-
10
Print your menu
Last but not the least, print your menu. Always use quality paper for printing purpose. You can print the menu yourself or from a local printer. Now your menu is ready!