How to Create a General Ledger in Excel
In Businesses, General ledgers are maintained in order to keep the record of daily business transactions. However, in old times record keeping was quite a cumbersome job but not anymore. Today spreadsheets like MS Excel are used to handle transaction records of this sort. These enable the user to maintain the data related to business transactions seamlessly and efficiently. Also with these spreadsheets the balancing of accounts is possible without any hassle or delay.
In MS Excel there are easy to use features and one of these is a general ledger prototype/template. These not only save time but are also easy to handle. Apart from prototypes, based on a pivot table the user can always create a General Ledger which is also very simple.

Instructions
-
1
Open the MS Excel Spreadsheet, name your spreadsheet and then save it.
-
2
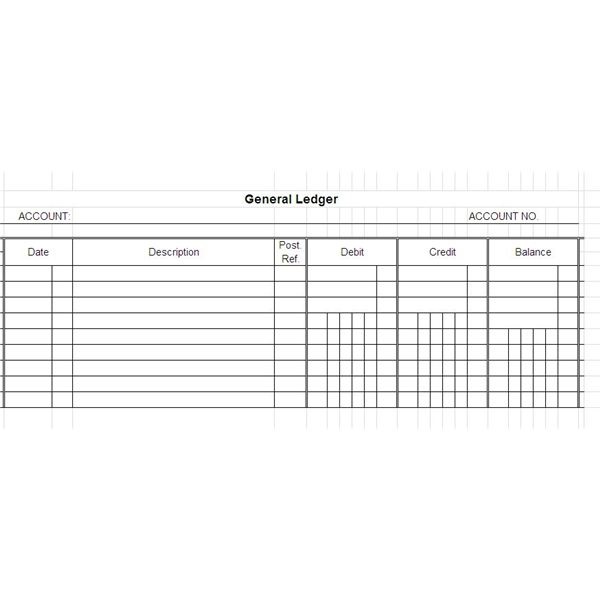
Now in the first row line up four headings in this order: Date, Account Name, Debit/Credit and then Amount with the symbol of currency.
-
3
Once you have given names to the columns, you can now enter the respective data. So begin from row 2 and enter all the data sequentially.
-
4
After entering the entire record of transactions go to the Insert tab and click the Pivot Table option located on the extreme left hand corner. Click on the pivot table again from the drop down menu, a new window will open in front of you with the name Create Pivot Table. Here you will have to identify the data that you want to analyze. For this bring the cursor to the beginning of the second row of the first column and then right click and hold till the last column of the last row. Once selected, release the key. This way an area will be selected with blinking edges. Select the New Worksheet option and click Ok.
This will create a new worksheet that you can see on the left side of the opened worksheet on the worksheets pane at the bottom . Click it. -
5
Now that you are on the new worksheet, you can now see the options available towards the right with the name Pivot Table Field List. Here in this pane click on the check boxes against the date, name of the account, debit/credit and amount and drag to their respective quadrants at the bottom. Once done you can now see the general ledger entries on the left. The general ledger in MS Excel is now successfully created.
