Create Bootable USB for Windows 7 Installation
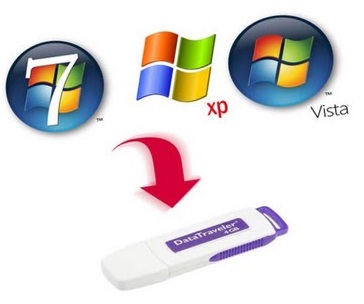
If you have computer or laptop with a faulty optical drive, you are probably going to run into trouble if for any reason you need to re-install the operating system. Fortunately, Windows 7 allows you to create a bootable USB drive, which will help you restore your computer or install Windows 7 without needing an optical drive.
The USB drive will work like the Windows 7 installation disc and will allow your computer to read boot information from the drive and access the installation files needed for the process. Since all computers have USB ports, creating a USB drive can be a life saver in case your optical media fails. Keep reading this guide if you want to know how to create a bootable USB for Windows 7 installation.


Instructions
-
1
Save your data from USB to a Local drive, because you would need to format your USB device. Insert your USB (at least with 4GB of storage space) drive to the system.
-
2
Open Command prompt by typing ‘’CMD’’ command in ‘’RUN’’. If you can’t find the Run option then you can open command prompt directly. Simply Open the Start menu, click all programs, go to accessories and find the command prompt option.
-
3
When the Command Prompt opens, type the following commands:
- Type ‘’Diskpart’’ and hit Enter key (a new CMD windows will appear)
- Type ‘’List Disk’’ and press Enter key again
- You will see 2 options but type ‘’select disk 1’’ as you want to format the USB drive for installation.
- Type ‘’Clean’’ and hit enter (this process might take few seconds)
- Type ‘’Create Partition Primary’’ and hit Enter key
- Then Type ‘’Select Partition 1’’
- Type ‘’Active’’
- Type ‘’Format fs=ntfs’’ (This process might take 50-90 seconds)
- After Formatting Type ‘’Assign’’ and hit Enter -
4
You can close the command prompt if you want now or keep it open to redo the process if you run into any issues.
-
5
If you have the Windows installation files saved in your system, then just copy these files and paste them to the USB drive. Otherwise you can borrow an R/W-DVD from a friend but don’t forget to save the installation files for the next use.
-
6
After the files are all copied without errors, open the CMD prompt main window and type ‘’Exit’’. Close all windows remove your USB. Insert your USB drive to the system you intended to install Windows on.
-
7
Start your computer and open Bios setup by pressing F2 key on startup. Go to The boot options and move Hardisk to the top by hitting f5 or f6 key. Open the hardisk options and move your USB drive to the top again by pressing f5 or f6 key.
-
8
Exit the BIOS setup and restart you computer. The Setup will start after the restart.


