How to Create Gif Animation in Photoshop
Stationary images on websites are quickly being replaced by animated GIFs for the past few years. There are numerous ways to create animated GIFs; using Adobe Photoshop being a possible option. You can either use individual images to create an animated GIF which is a relatively time consuming method. Alternatively, you can use a short video clip which is much easier to do.
Things Required:
– Adobe Photoshop installed on a computer
– Movie clip

Instructions
-
1
Launch CS3 Extended or a later version of Adobe Photoshop. Allow a brief moment for the programme to load.
-
2
Click on the ‘File’ button, point to ‘Import’ and then click ‘Video Frames to Layers’. Make sure that the video you import has a maximum of 500 frames. Movie files with more frames will need to be trimmed before they can be imported in Adobe Photoshop.
-
3
You can make all of the required changed from the ‘Import Video to Layers’ window. Under the ‘Range to Import’ section, choose from the three options; ‘From Beginning To End’, ‘Selected Range Only’ and ‘Limit to Every [n] Frames’. If you choose first of the three options, all frames in the movie file up to a maximum of 500 frames will be imported. The second option will allow you to manually select the start and end points whereas choosing the third option will cut the frames in the movie clip you are importing by at least half.
-
4
Since your aim is to create animated GIFs, check the ‘Make Frame Animation’ checkbox from the ‘Import Video to Layers’ window.
-
5
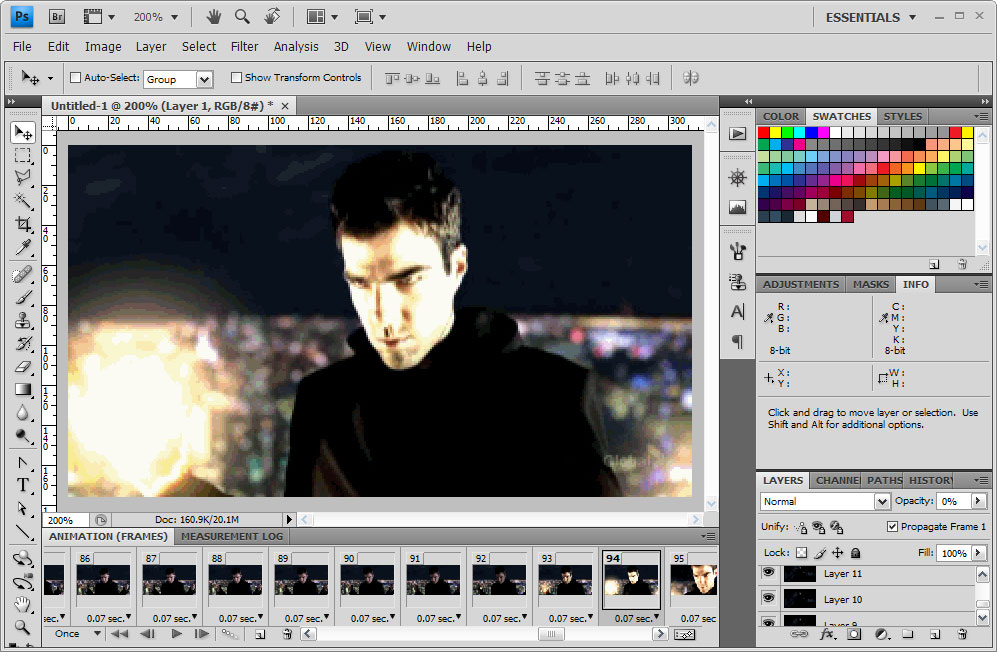
Click the ‘OK’ button and the movie clip will be imported in a matter of seconds with each frame added to a separate Photoshop layer.
-
6
If you plan to add special effects, make use of Photoshop's adjustment layers. You can tweak the colour setting of each layer; change its brightness, contrast and much more. Remember to take your time while doing this step as you want it to turn out perfect.
-
7
For making changes to individual layers, click the desired frame in timeline and then click the corresponding layer. At this point, you can add effects, clean up glitches or do whatever you desire.
-
8
When you are satisfied with the changes and do not want to make more, click the ‘File’ button and then click ‘Save’. Choose size and output options as desired and then click the ‘OK’ button.