How to Customize Beach Balls
Summer is just around the corner, it is the time to take out your beach balls and to put them to work. Beach balls are one among the trendiest toys to double you summer fun, joy and outings. These hot-air balloons are large but very light that even small hands can find it easy to hit. They are available in the market in various shapes, sizes and colours. Customizing your beach balls is a fun activity where you just have to experiment with numerous items to convert the simple balls into stylish ones.
You might be thinking that the customization of the ready made beach balls may require extra effort and expenditure, but trust us it is very simple and inexpensive activity, with two major benefits. For example, you can personalize your beach balls to match various events like beech competitions etc. secondly; it helps you to easily identify your beach ball on a busy pool side or beach where many other people will be carrying their balls.
Things Required:
– Beach ball – plain
– Large Bowl or Large round plastic tub
– Craft paint
– Foam or disposable plate
– Sponge shapes – of your choice
– Roller brushes
– Wading pool
– Permanent markers – of your choice
– Smocks


Instructions
-
1
Inflate your Beach Ball
Blow or pump up your beach balls to their fullest capacity and close it plug properly, trapping the air inside. -
2
Set the Beach Ball
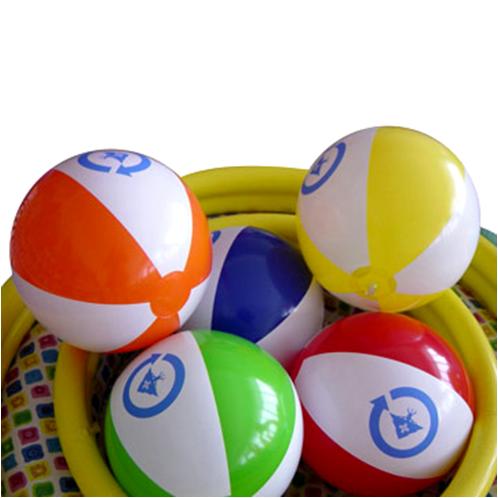
If you are customizing small beach ball, place it inside a large bowl so that it will support the ball, without letting it roll around. On the other hand, if you have big beach ball, use a large round plastic washing tub to set it. -
3
Paint the Beach Ball
Now you can customize your beach balls in any style that you like. If you want to paint it, simply follow the given below simple instructions:
Take a disposable plate and place some craft paint of your choice in it. You can use one colour or can experiment with multiple paints, depending on the situation and your choice. Blend it with a small brush until smooth and water.
Now, dip the sponge shapes of your choice into the craft paint, remove overload paint by blotting it on a paper towel, and stamp it on any one side of the beach ball. Leave this side for few minutes until the paint sponge designs dry well.
Repeat the simple procedure with the other sides (angles) of the beach balls and leave them for some time to dry well before playing with them. -
4
Try Fingerprints
Fingerprints are another super cool idea to customize your beach balls. Follow given below simple steps:
Squirt some of the non-toxic craft paints on a large disposable plate and blend them well, using your fingertips or paint brush.
Now ask you children to dip their palms in the paint, drip off the excess and make various fingerprint designs all over the beach balls.
Set the beach balls aside until dry completely and then enjoy playing with it. -
5
Customize with Permanent Markers
You can use some vibrant permanent markers to personalize your beach balls. Follow the given below simple steps:
Make Designs: Pick some of your favourite permanent markers and draw some designs all over the beach balls like stars, shapes, hearts, flowers, cartoons etc.
Write Some Message: You can also use the permanent markers to write some personal messages on your balls. For example, “Happy Summer,” “Summer Fun,” “Happy Birthday,” “It’s Party Time,” “Let’s Rock,” etc.


