How to Do Selective Color Correction GIMP Freeware
Editing photographs brings more elegance to the image you take from your camera. Editing a photograph doesn’t mean you have made some mistakes while taking the shot but it is aimed to add more beauty to the photograph. There might be scenarios when you take a very good photograph but you feel that colours at some spots need to be altered for making the picture look better. Adobe Photoshop is the most commonly used photo editing software all over the world, however, its high price doesn’t allow all of us to purchase it for the sake of our hobby. GIMP is the other very powerful software which has many similar features to Photoshop and it is available free of cost.


Instructions
-
1
You need to download and install GIMP on your computer. Go to the official website, www.gimp.org where you can download GIMP without paying a cent.
-
2
Open GIMP freeware after installation and click on ‘File’ and ‘Open’ buttons simultaneously to open the image file you desire to do selective colour correction.
-
3
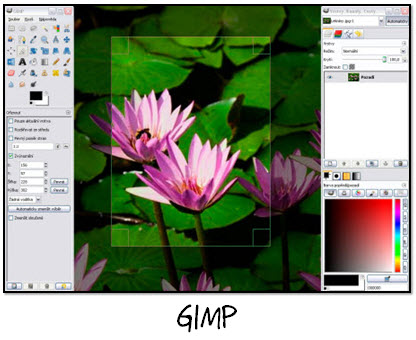
Let us suppose you have opened up an image of a flower and you want to change the green bud into a blue bud by colour correction. Click on ‘Fuzzy Select Tool’ from the top row.
-
4
When you will click on the flower bud, you will see some wavy lines around the bud. Hold the shift button and start selecting the parts of the bud which are not enclosed by the wavy lines until you have covered the entire portion which needs colour correction.
-
5
The ‘Quick Mask’ tool can be very helpful to mask out everything that is not selected. Press ‘Shift+Q’ to toggle in and out of the quick mask mode and ensure that the entire part of the image is selected.
-
6
When you fully cover the entire area, toggle out of the quick mask mode and click on ‘Colour’ and then ‘Curves’ buttons to open the curves palette.
-
7
There will be a drop down menu of ‘Channels’ and you will have to select the colour you desire to change from this menu. Select blue colour and adjust the shade by manipulating the curves until you have your desired colour. Click on the ‘OK’ button to conclude.
-
8
Click on ‘File’ and then ‘Save As’ button to save the edited image to your computer hard disk.


