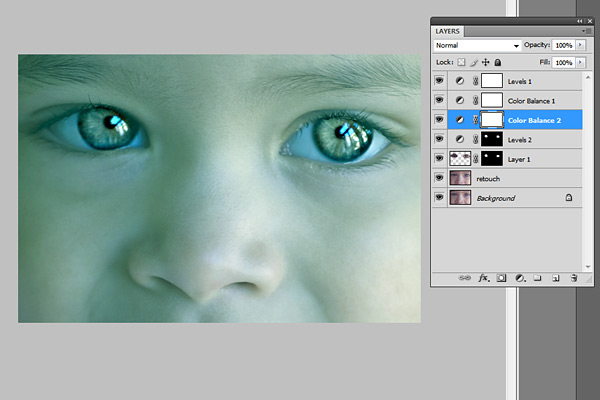
How to Easily Sharpen an Image in Photoshop CS3

Adobe Photoshop is arguably the best photo editing software. Moreover, it provides great help in creating graphics and web pages. Almost all the photographers, designers and web developers use Photoshop.
Adobe Inc. has introduced many different versions of Photoshop. Photoshop CS3 has gained a lot of reputation because of its more user friendly interface and additional features. It is not very difficult to sharpen your photos in CS3. All you need is a little time to learn the procedure of sharpening the images which has been mentioned in the given steps.
Instructions
-
1
First of all, you have to open Photoshop CS3 on your PC. You can open it by double clicking its icon displayed on the desktop. But, if you have not created any kind of shortcut while installing the software, you will have to search for it in the list of programmes by going to the start menu.
-
2
When the Photoshop is opened, go to the ‘File’ option which is given on the top left corner of your screen. Then, select the ‘Load’ option and select the image which you want to sharpen by going to the respective folder in your computer.
-
3
After that, click on the ‘Filter’ option and select ‘Sharpen’. Now, select the ‘Smart Sharpen’ option and select ‘Preview’ in order to see the changes which you made in the image. Notice the difference between the changed image and the original image by selecting the layers.
-
4
Then, you have to enter the figure or strength up to which you would like to sharpen your image. The amount will be entered as a percentage in the ‘Amount’ text box. Besides, you can also use the slider which is given just below the box in order to adjust the figure according to your choice.
-
5
It is extremely important for you to enter the sharpening radius in the text box of ‘Radius’. On the other hand, you can also use the slider which is given just below the text box to adjust the amount of radius. The radius will be displayed in terms of pixels of the filter.
-
6
In the end, just check the ‘More Accurate’ box and click on ‘OK’ button.


