Get Rid of Car Rust
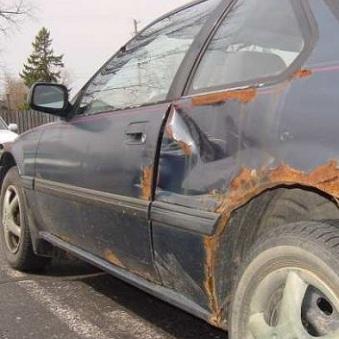
Rusty car bodies are a common sight in areas where the weather is generally very humid, rainy or moist. Rust on a car occurs when body metal gets exposed to moisture. Starting with a few spots, rust starts to accumulate even under a layer of paint after some time. So car rust is something you should attend to immediately.
Although the idea of getting rid of car dust without actually taking the car to an auto workshop seems very complicated and time consuming but in reality, it is quite easy and you can get rid of car dust yourself to get your car back in good shape.
Things Required:
– Non-permanent marker
– Grinder
– Grinding Disks
– Sandpaper (80, 120 grit)
– Sanding block
– Body filler
– Squeege
– Primer
– Paint

Instructions
-
1
Give your car a thorough look. Mark all the rusty areas on the car with a non-permanent marker. Mark every rust area irrespective of its size. Chances are that rust has penetrated underneath the paint in areas where the paint seems to be detached from the body so check for such areas as well. Be very vigilant because you do not want to leave any rust unnoticed.

-
2
Fit a new grinding disk on the grinder. It is time to start the actual work. Carefully grind the rusty areas until all the rust has been removed and you can see bare metal. Also grind the areas around the rust and remove the paint.

-
3
Using a plastic squeegee, apply a smooth layer of body filler. Leave it to dry. Using the 80-grit sandpaper and the sanding block, sand the bare metal until it is smooth.
-
4
Now apply a coat of automotive primer on the bare metal areas and the areas surrounding it. Let it dry. Apply two more coats of automotive primer, letting the second coat dry before you apply the third and final coat.
In case you are planning to paint the car the following day, you should use a self etching automotive primer. It possesses the property to adhere to the metal and seals off the metal, effectively avoiding contact with moisture overnight.

-
5
Using the 120-grit sandpaper and the sanding block, sand the primed area. Once you are done sanding, its time for the final step. Paint the primed area with three to four coats of paint, letting the first coat dry before applying the next one.


- Sanding block
- Body filler
- Squeege
- Primer
- Paint
Next%20stop%3A%20Pinterest "Pin It")

