How to Install a Tin Ceiling
You would have seen ceiling of different styles and materials like plaster ceiling, normal ceiling etc. Probably you haven’t seen tin ceilings. Yes tin ceilings! Rarely used but having best support for your ceiling and protects it from wetness. Tin ceiling is an architectural showpiece made with pressed metal. These can elaborate the oldie Goldie charm in any century. Instead of making tiles you can buy them from market and install them with in fewer time. You can install tin, non-rusting aluminum tiles in your home by following this guide.
Things Required
– Chalk
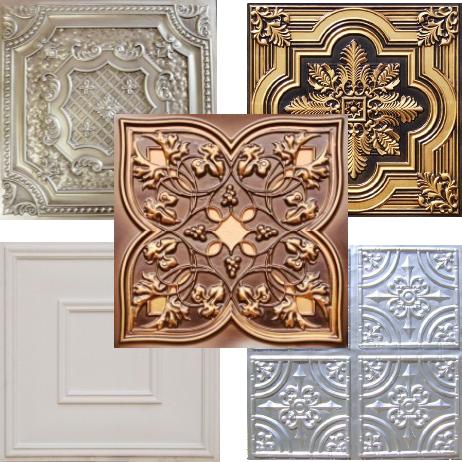
– Tin ceiling tiles
– Pencil
– Ladder
– Tape
– Glue
– Plywood
– Screw and steel nails


Instructions
-
1
Measurements
Take full measurements of your ceiling and make sure you have purchased enough tiles to fix on it. Pick up the chalk and start measuring your room. You should have bought few extra tin tiles in order to fix any replacement or finishing touch.
-
2
Attach a Plywood Substrate
Before installing tin ceilings you need to clear the ceiling from old tiles and extra material. Clean it up! Now add plywood substrate over the ceiling. Remember, we need to attach the tin with something solid this is the reason we are going to attach plywood.
Attach the plywood on ceiling and make sure to attach it properly. Use wood glue (for panel’s back) and install screws in plywood for extra support.
-
3
Central location
Take full measurements and find out the central point in order to be getting started. Then measure 12 inches on each side of the central spot and shatter the lines. By doing so we are leaving some space for center row of tiles.
-
4
Fixing tiles
If you are using ready-made tiles with different designs, there must be pre- stamped nail divots on each tiles. It brings an ease for you to fix nails without any problem. But if you are using simple tiles then you can select appropriate corners of tiles in order to fix the nails. Concentrate on tiles, as tiles have to overlap from the corners. Make a keen check from room in order to maintain uniformity of all tiles. These should be of equal and balanced design wise.
For extra important cuts in the tin tiles, use tin snip and assure that you follow the tile patterns perfectly while trying to make any cut.


