How to Install a Tubular Skylight
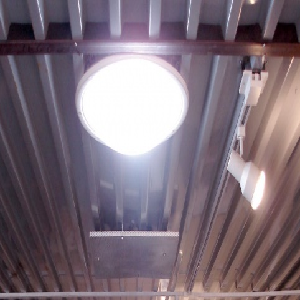
One thing that makes any room cheerful is a good doze of sunlight. Without the element of nature, any place seems dull and uninviting. There are few dark corners in the home where the natural light does not reach. With the help of tubular Skylights, you can direct natural sunlight from the rooftop down through a reflective tube. Tubular skylights acquire direct light and give brightness to a room even on cloudy days. They can be installed in any kind of roof and come in different sizes. With a few tools and proper instructions, you can install them yourself.
Things Required:
– Aluminum tape
– 2-1/2″ screws
– Skylight kit
– Electric drill
– Jigsaw
– Pencil
– Compass


Instructions
-
1
First choose a suitable location for the skylight on the roof. Apply some masking tape on the location. With the help of a timber piece and a nail positioned in the center or if you have a compass, draw the circumference of the ring with a pencil. Then cut the ceiling hole with a jigsaw. Using the same piece of timber, mark a circle on the roof. Drill a hole in it and cut out the circle with a metal cutting blade.

-
2
Now install the ceiling ring which is given with the skylight. Put it in the opening by drilling it and securing with screws. Curve out the dome aluminium base, put the tubing through the hole into the roof, this will position the dome. With the help of a hammer handle, shape the base so that it matches the roof profile and seal it with silicone.

-
3
When you have pulled the tubing through the ceiling hole, get rid of the surplus by cutting it away; fasten the ring to the ceiling with the given screws. Avoid over tightening the screws as they could deform the tube or ruin the ceiling. You will have natural light streaming through the room!


