How to Install Custom Wainscoting in a Dining Room
A comfortable living and a beautifully furnished house is desired by everyone. We use multiple things like wood and marbles to glorify our houses. Woodwork is one of the most common things in houses since centuries as wooden doors, windows and cabinets give a very warm and traditional look to a house. If you can afford it, you can make your house look extremely lavish through high-quality woodwork.
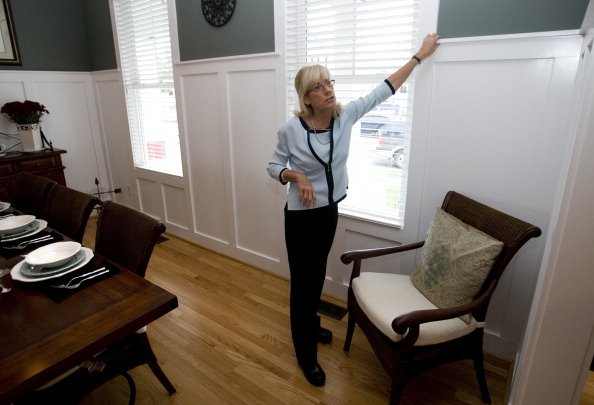
Wooden paneling on the lower part of a wall topped with chair rail is called wainscoting. There is general conception that wainscoting is extremely expensive and not feasible for everyone. However, if you are smart enough and can take some time out of your day to day routine, you can install custom wainscoting in your dining room using ordinary tools.


Instructions
-
1
Buy the wainscoting
Go to a home store and buy a wainscoting you want to install in your dining room. They are normally available in market either prefinished or ready-to-finish. The panels are usually 4x8 feet sheets; whereas, the wainscoting is about 45 inches from the floor, which includes top railings and base moldings. Before you go to the home store, you must determine the number of panels you require by measuring the room.
As you know that the wooden products expand and contract as a result of change of temperature and moisture, so place the wooden panels at home for some days, allowing them to get used to the home atmosphere.
-
2
Empty the room
Once the panels are ready to be installed, you should clear the walls, including the switch plates and outlet covers. Empty the room if possible; otherwise, move all the furniture and carpets to the centre, in order to have extra space to work with.
Use a stud finder to locate the studs and mark them on the wall, which will be convenient for you during installation. Using a level, make a level line around the room, measuring up 42 and ½ inches from the floor.
-
3
Installation
Start the installation from a corner and install the first panel 1/16 inches from the mark. The top must be levelled with the line. You may use nails or panel adhesive for installation. A compressor nail gun can really help you drive and set the nail at the same time.
Measure the panel from where it hits the outlet and cut it from there. Place caulking in the gaps to allow the panels to expand and contract in case of a change in temperature. However, you need to ensure that the caulking is finished with the colour of the wainscoting, so that it is not visible.


