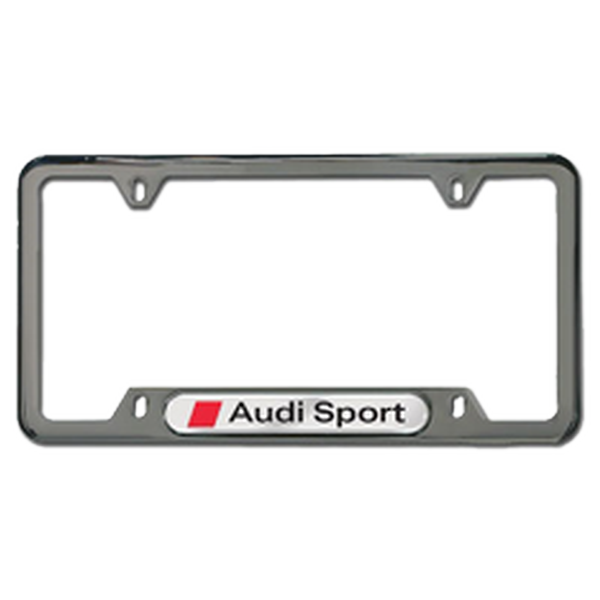
How to Install License Plate Hardware

License plates are used all over the world to distinguish vehicles from each other and to maintain the track record of a particular vehicle. In most parts of world, two license plates are mandatory, one at the vehicle’s front while other at the rear. Using a metal or plastic frame to hold the license plate in place instead of installing the plate directly to the vehicle will prevent the plate from damage for a longer period of time. Here is what you will need to install license plate hardware.
Things Required:
– License plate frame
– Screws
– Screwdriver
– License plates
Instructions
-
1
Go through the instructions manual that came along with the license plates. You may have to stick a few county or expiration stickers on the license plates according to state law. Read where these stickers would go and also make a note of which license plate goes at the front of the vehicle and which goes at the rear.
-
2
Place the rear license plate against the rear frame meant to hold the license plate and align the plate with the top screw holes. Push the screws that came with the license plates through holes in the license plate and the frame.
-
3
There will be holes in the vehicle’s bumper as well meant to hold the license plate. Align the screws with those holes and tighten the screws properly with a screwdriver. Repeat the same steps install license plate hardware for the front license plate.
-
4
When you are done installing the license plate hardware, move away from the vehicle and give the license plate a close look to ensure that it is level with the ground. If one side of the license plate is higher than the other, loosen the screw on that side, nudge down the plate lightly at that side and reinstall the screw.


