How to Install Wainscoting

Every one of us desires a comfortable living and a beautifully furnished house. We use different things like marbles and woodwork to make our homes look luxurious. Woodwork on walls and cabinets gives a warm, traditional look and has often been used to great effect in lavish homes.
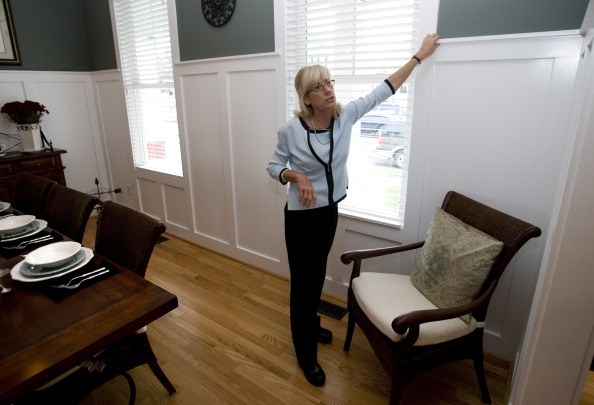
Wooden panels that cover the lower part of a wall and are topped with chair rail are called wainscoting. There is a misconception that wainscoting is extremely expensive and the carpenters also charge a lot. However, by using some of your time and ordinary tools, you can add a luxurious appearance of wainscoting to your home, without having to spend too much.
Instructions
-
1
Let the wooden panels acclimate
Decide what kind of a wainscoting you want by visiting a home store. Wainscotings are usually available either as prefinished or ready-to-finish products. Their panels are usually 4x8 feet sheets, while wainscoting is approximately 45 inches from the floor, which includes base moldings and top railings. Determine the number of panels you require by measuring the perimeter of your room.
Before you begin installing the wainscoting panel, place it in your house after buying it so that the panel can get used to the home atmosphere. You must understand that wood products expand and contract because of temperature and moisture, which is the reason why you should let it acclimatize.
-
2
Empty the room and use a stud finder
Once you think that the panel is ready to be installed, clear the walls, including the switch plates and outlet covers. It is usually advised that you empty the room to give yourself extra space to work with. However, if that is not possible then move furniture and carpet to the center of the room and cover it.
Use a stud finder to locate them and mark them on the wall to make it convenient. Mark a level line around the room by using a level and measure up 42 and ½ inches from the floor.
-
3
Installation
Beginning from a corner, install your first panel 1/16 inches from the corner, with the top level with the line. Panel adhesive or nails can be used for installation. For your convenience, use a compressor nail gun, which drives and sets the nail simultaneously.
In order to accommodate the panel, you need to measure it from where the panel hits the outlet and cut the panel from there. In order to allow the panels to expand and contract with the changing temperature, place caulking in the gaps. Finish the caulking with the colour of the wainscoting, which will make it invisible.


