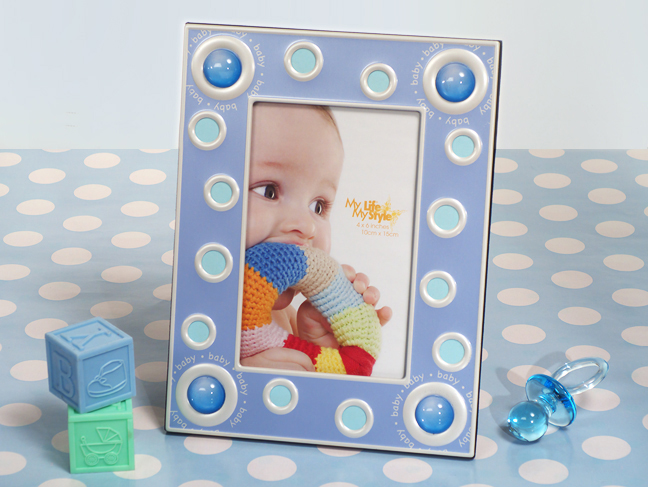
How to Make a Baby Picture Frame

Taking photographs is not just a hobby for some people but everyone likes to save the delighted memories in form of snaps. Some photographs are so memorable that you desire to watch them again and again.Framing such photographs and placing them on shelves in your room always make you remember of those precious moments and revive your memories. Taking snaps of your children and framing them to decorate your room depicts your love for them. If you make the baby picture frame at home, Instead of purchasing photo frames from the market, this will very strongly express your love for your children. You can make use of your creative skills and make as many picture frames at home as you desire.
Instructions
-
1
You need not to purchase some expensive items for making these frames but you can use simple thing at your home to make a very colourful and attractive photo frame. Cardboard is a cheap and easily available material which you can use to make the frames.
-
2
Cut a rectangular piece of cardboard to the desired size of the picture frame. You can use scissors or any other appropriate cutter for this purpose.
-
3
Use a pencil to draw another rectangle within the cut piece of cardboard to make the border of the frame. Cut out the smaller rectangle from the cardboard.
-
4
This rectangular piece of cardboard shall become the front of the picture frame you are about to make and you have to decorate it accordingly. You can use colour pencils, crayons or even paint colours (if you are good at using them) to add different colours to the frame.
-
5
You can draw out different objects, like animals, food stuff, cartoon characters etc, on a plain piece of paper and then cut them out to paste on the frame. Don’t forget to colour those cuttings as well.
-
6
Another easier way to decorate the photo frame is to place stickers on it. You can choose the favourite cartoon characters of your children and buy their stickers from the market.
-
7
It doesn’t matter how you decorate your picture frame, your choice should look creative and matching with the theme of the picture you are about to put in the frame.
-
8
Now cut another piece of cardboard of exactly the same size of the first rectangle.
-
9
Apply glue on the backside edges of the decorated frame front and paste the second piece of cardboard on it firmly.
-
10
Carefully place the snap inside the frame through the opening at the front and it is done!


