How to Make a Flicker Lamp
There are many ideas that can be used for decorating your home. You can make these interesting objects at home and have a bit of fun in the process. One such decoration object is a flickering lamp.
These are available in the market but if you are willing to spend some time, you can very well make it at home. The process is simple and does not take any real expertise. Soon you will have a flickering lamp in your living room.
Things Required:
– Led Lights
– Electric Wires
– DCx16 Circuit Board
– 2 Double Batteries
– 3 Volt Battery Holder


Instructions
-
1
Work Surface
Have a wooden work table available to make the lamp. This will help you in getting the job done without much trouble. Keep all the tools that you will need placed on the side of the table so that you can access them without much trouble. -
2
Wire
Cut to lengths of six inches each of an electric wire with the help of wire cutters. Take a ruler and mark half inch on both ends of both the wires and with the help of a wire stripper, strip the marked areas. This will leave you with the wires exposed at both ends. -
3
Solder Ends
The next step in the process is to solder one end of each of the wire to the same contact on a resister and let the soldering cool down for a little bit. While soldering remember to take your time so that you can get it done right the first time. -
4
Solder LED
The next step is to solder the other contact on the given resister directly to the short pin of the LED. Just like before, give it some time to cool down. -
5
Solder to LED
The next step is to solder the free end of both the wires to the LED. -
6
Tape
Use electric tape to cover the pins of the LED as well as the contacts on the given resister. -
7
Solder Free End
Now solder the free end of the wire which has been connected to the resistor to the contact on the DCx 16 circuit board which has been labeled "positive input.” Repeat the same process to the free end which has been connected to the LED marked as “negative input”. -
8
Solder Batter Wire
The next step is to solder the wire, generally black in colour, from a 3 volt battery holder to the positive contact on the circuit board. Similarly solder the red wire from the battery holder into the negative contact on the circuit board. -
9
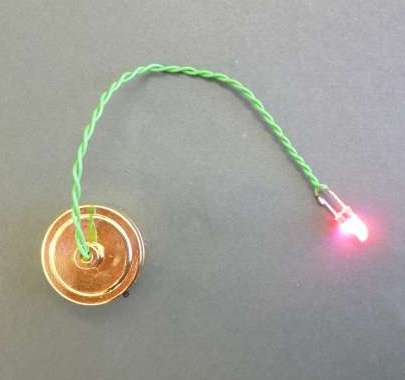
Insert Batteries
Insert the right size batteries into the battery holder and see the lamp flicker in front of you.


