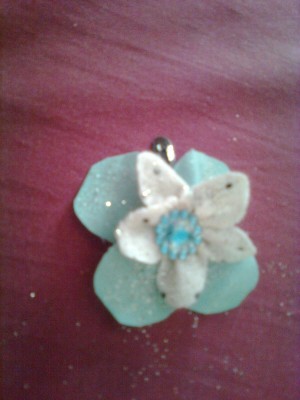
How to Make a Flower Hair Clip
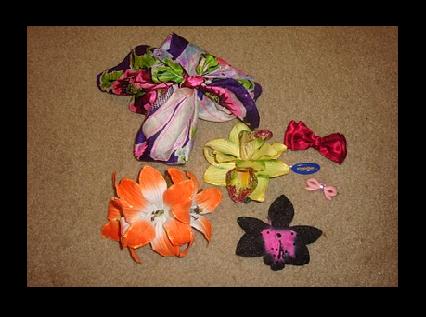
Making a flower hair clip on your own can be fun – most specifically for kids and young girls; it’s a great off time activity. You can make the flower with any material you want and can add to it as you like. There can be a number of ways to make a flower hair clip but the article will explain how it can be made with fabric. This will be in the simplest way which requires no skill or format knowledge in arts and crafts. Following is a step by step guide that can help you make your own flower hair clip.
Supplies
– A Piece of Fabric
– Fabric Chalk
– Button
– Hair clip
– Glue
– Thread and Needle
– Scissors
Instructions
-
1
Take a small piece of fabric and cut it into a narrow rectangular shape. Now draw a pattern of petals with the help of a chalk and cut along this pattern neatly. After cutting out the pattern it will look something like what we can see in the picture.
Also cut a small circular piece along with it and put it aside as it is going to be used later.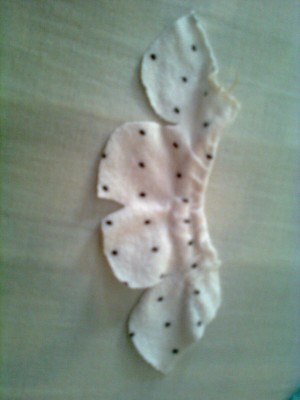
-
2
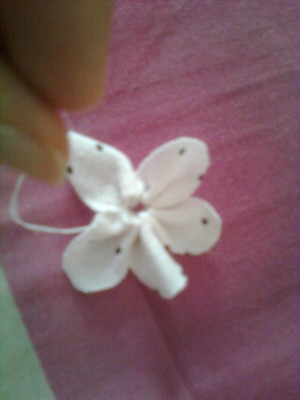
Now take a needle and sew along the bottom. When you reach the end of the petal, gently pull the thread and as you pull it, you will see that the petals are drawn together into a flower. Remember not to pull it hard as it will give an untidy look.
-
3
Similarly make another flower by following the same steps but this time the size of the flower is going to be bigger.
Once you are done making the two flowers, sew them together.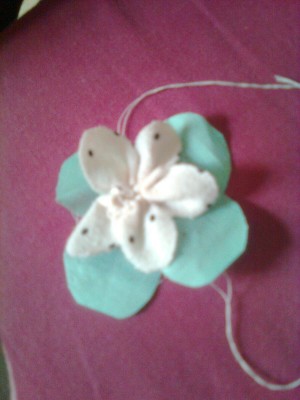
-
4
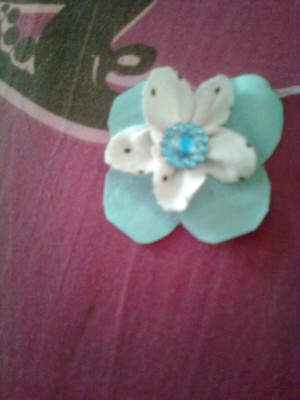
Now take a button and sew it right in the middle and your flower is ready.
-
5
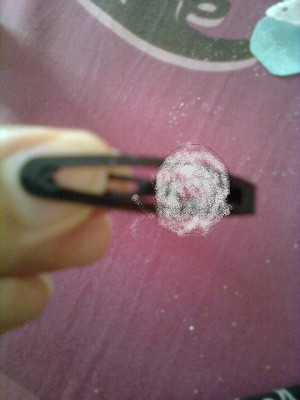
Now is the time to attach your hair clip with the flower that you have just made. But before that, first take the circular piece that you cut in the beginning and attach it to the back of the flower and then glue the hair clip on it.
-
6
