How to Make a Lighted Headboard
Your bedroom is the ultimate place to relax. Lighting has a vital impact on the overall look and calmness of your bedroom. Normally, dim light is preferred around your bed so you can have a soothing feeling, instead of bright lights which glitter your eyes.
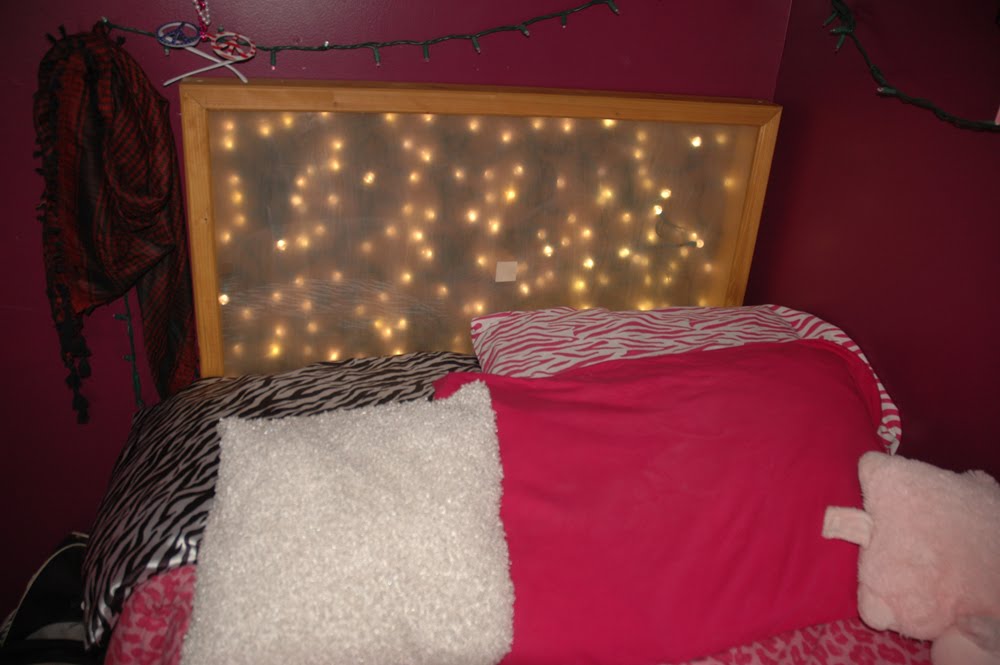
Lighted headboards are becoming increasingly popular these days because of their particular feature. These boards produce dim light from the back of your bed so your eyes are not disturbed by the shiny bulbs and you can have a pleasant sleeping experience.
Lighted headboards can be really expensive and it might become a difficult task for you to find a lighted headboard which aligns with the entire decor of your bedroom. If you have some creative skills and are will to do things yourself, you can certainly make a lighted headboard at home which suites your bedroom perfectly.
You will be amazed to see that the cost incurred in the entire process will be far less than the price of built-in lighting headboards available in the market.
Things Required:
– Measuring tape
– Ruler
– 1/2 inch plywood
– Pencil
– Clip-on lights
– Jigsaw
– Paint
– Paintbrush
– Screwdriver
– Screws
– Drill


Instructions
-
1
You need to take the measurements of your bed before you set out to make the headboard. Use a tape measure for this purpose; measure the width of your bed and the wall behind it.
-
2
Determine the size of the headboard which shall fit the space available at the back wall of your bed.
-
3
Draw the shape and size of the headboard you are about to make on a sheet of plywood by using a pencil. You can also use a ruler to draw straight lines.
-
4
Use a jigsaw to cut the plywood along the lines you have marked with the pencil. Sand the edges of the plywood to remove any splinters.
-
5
Paint the headboard with the shade of your choice using a paintbrush. Let the paint dry before you proceed to the next step.
-
6
Using a drill and screws, attach the headboard to the box mattress frame of the bed and check its balance with a carpenter’s level afterwards.
-
7
Attach the clip-on lights to the painted headboard wherever you desire the light to emerge from. Make sure all the wires and cords from the lamps fall behind the headboard.
-
8
Now place the headboard behind the bed, and switch on the lights to check. If some lights are non-functionals, check the wiring again.


