How to Make a Set of Splints
Splints are used to support or immobilize injured or broken bones in any part of the body. Injuring or fracturing a bone is no doubt an extremely painful condition, and if not stabilized properly the injury may get worse. The best way to stabilize a broken bone is to support it with the help of a splint. In case of any bone injury, you can make your own splints and keep your broken leg or arm from moving while medical assistance is on the way.
Things Required:
– Pillows (thin but soft)/ 2×3 pieces of blanket
– Two yardsticks (for broken leg or ankle)/ two rulers (for a broken arm or wrist)
– Self adhesive elastic bandage
– Ice gel pack

Instructions
-
1
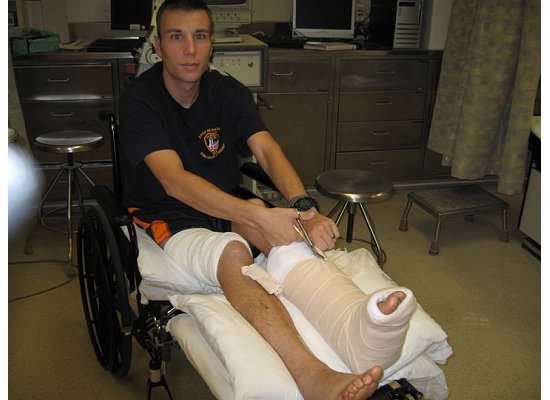
The first thing to do when nursing a broken limb is to adjust it out into its natural, fully straightened position by placing pillows on both sides of the broken leg or arm. Your body starts the healing process immediately after the injury, regardless of its nature and severity, and adjusting the limb in its natural position will prevent misaligned healing.
-
2
Take two yard sticks, long enough to extend past the ankle and knee joint, and place them next to the broken leg on the outside of the pillows supporting your broken limb. Position the sticks where they extend beyond the nearest joint.
-
3
Wrap the self adhesive elastic bandage around the limb, pillows and the sticks. Wrap the bandage tight enough to hold the yard sticks (about three to four times around).
-
4
Apply an ice bag on the broken leg to alleviate pain. If you don’t have a gel pack, put two handfuls of ice in a plastic zipper bag and wrap it in a towel before application.
/ 2x3 pieces of blanket
- Two yardsticks (for broken leg or ankle)/ two rulers (for a broken arm or wrist)
- Self adhesive elastic bandage
- Ice gel packNext%20stop%3A%20Pinterest "Pin It")
