How to Make a Silhouette Painting
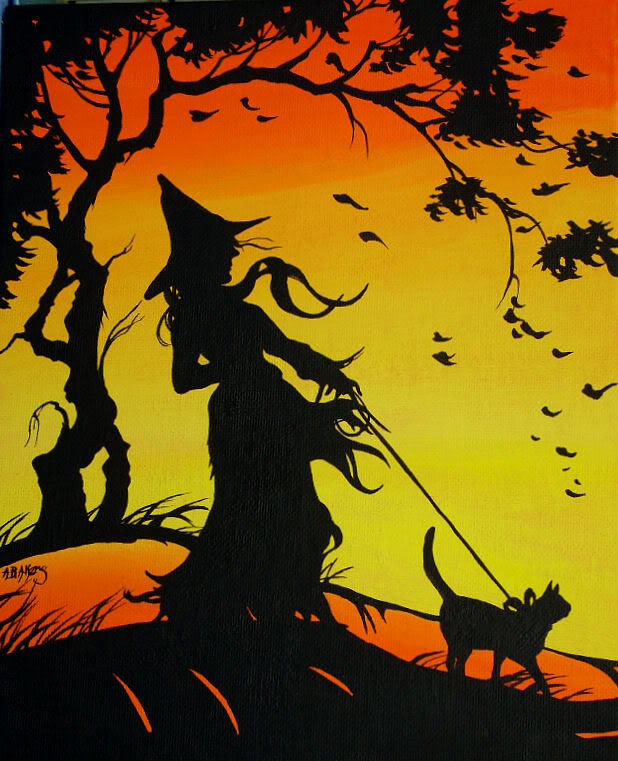
While traditional styles of painting might seem difficult and time-consuming owing to the need to pay close attention to small details and intricacies like shading, a silhouette painting is easy and quick to make, eliminates the need to add in too many details, and has an extremely elegant and tasteful appearance. These make for a fun afternoon craft, a lovely and personal present, and a fine addition to the decor of any home.
Things Required:
– Canvas (8 inches x 10 inches or larger)
– Paint brushes (one large, one small for details)
– Two paint colours of your choice
– Scissors
– Tape (Scotch or painter’s tape)
– Pencil
– Photo of silhouette


Instructions
-
1
First start by selecting the shape you want to paint a silhouette of – this can be virtually anything. Take your time to cut it out carefully and precisely, keeping the outline completely intact as an exact outline is the key to painting a perfect silhouette painting.
Image courtesy: charmaineolivia.com
-
2
Next, select the two colours you wish to use. One will be a base colour which will fill up your background, and the other will be the colour of the silhouette. In order to make your painting more visually appealing, make sure one colour is dark and the other is light, so they complement each other and present a stark and attractive contrast.
-
3
Then, proceed to stick tape all over the edge of the canvas, covering at least one inch of the area. Ensure that it is absolutely straight, even, and symmetrical. Then, dip the large paint brush in to the base colour, and paint it all over the canvas. After this, proceed to remove the tape – the border for your painting is now ready.
-
4
After this is done, place the cut-out of your silhouette in the middle of your canvas, and trace out the outline lightly and carefully with a pencil. Then remove the cut out, and dip your small brush in to the colour you’ve chosen for the silhouette, and proceed to fill in the outline. Make sure you paint over the pencil outline too, so that it doesn’t show.
-
5
Finally, allow the painting to dry. If you notice any imperfections, you can touch it up. Finally, hang it up where you wish, and if you want to use it as a gift, get it framed before wrapping it up.
Image courtesy: wanelo.com

- Paint brushes (one large, one small for details)
- Two paint colours of your choice
- Scissors
- Tape (Scotch or painter's tape)
- Pencil
- Photo of silhouetteNext%20stop%3A%20Pinterest "Pin It")


