How to Make a Storyboard in Photoshop
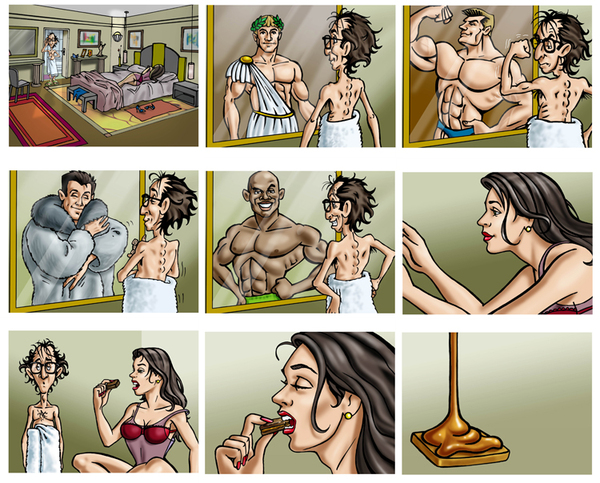
A storyboard is made when you arrange pictures in such a way that it looks like they are telling you a story. Most people use Adobe Photoshop in order to create their own storyboards, because it has a template which makes things a lot easier. In order to make a good storyboard, you must make sure that all the pictures are placed right in the centre of the page, wide apart from each other with an equal distance. A good storyboard will not only test your artistic skills, but also your mathematical skills.


Instructions
-
1
Start off by opening up Photoshop and entering into the file menu. After choosing a name for your document in the ‘new’ box, select custom from the types of pre-sets it offers. The width and height of the storyboard should be of your choice, but you can always mess around with the resolution, even though 300 is considered to be good. Choose the colour of the background and you are good to go.
-
2
Make sure that the computer you are using has all the photos you want to include in the storyboard. Import them into Photoshop, but they all must have the same resolution as your storyboard and the template you chose. The size of each photo matters, but you can always crop them as per your liking.
-
3
Now select the view menu and enter new guides. This option will guide you to centre your photos in the template you have chosen.
-
4
You may use the horizontal guide, which will eventually help you centre your photos. Once you click on the guide, just subtract the height of your photo from the height of your template and divide it by two. The first guide which you have selected should be positioned at this number.
-
5
The second guide should be set on the number which is the difference between the template’s height and the number which you have calculated in the previous step.
-
6
Use the same technique for your horizontal borders. Only this time you will have to add and subtract the width of the template.
-
7
The first and the last photos must be placed right in the beginning. Place them wherever you want to and make sure that they are centred properly.
-
8
Once you have the starting and the ending, place the rest of the pictures according to the story you want to create.
-
9
Now simply print your storyboard after saving it as a PSD file. In case your storyboard requires more than one page, you can always add more templates to the new file.


