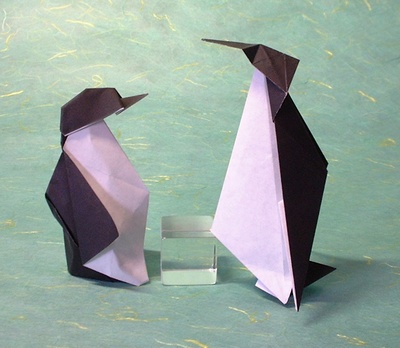
How to Make an Origami Penguin
Origami penguins are extremely easy to make and quite a lot of fun as well. These penguins can be used as decoration pieces, or can be pasted onto different greeting cards. With just a square piece of paper, anyone can sit down and make these penguins. However, the colouring bit can be a little tricky, considering what your skills are.
Things Required:
– An origami square piece of paper
– Scissors
– Colours/Crayons/Pencils/Pens


Instructions
-
1
Get yourself an origami paper. It is mandatory that the paper you arrange is cut into a square shape, i.e the length must be equal to the breadth of the piece of paper.
-
2
Put the paper on a plane surface. Make sure you have the freedom to move a little. Most of your work will be done on this plane surface, and you need the space to operate.
-
3
Fold the paper diagonally. Make sure that you fold it accurately and the two corners are meeting each other perfectly. Then use your finger to make the fold permanent, which help draw a diagonal crease on the paper once you unfold it.
-
4
Fold the paper once you have seen the crease, and then give it another fold but on the other side. This means that you will pick one edge and join it with the other on the opposite side.
-
5
Open up the page once again to check that there are two creases intersecting each other diagonally, making an X on the paper.
-
6
Now you are supposed to make an upward triangle fold. However, make sure that the fold is smaller as compared to the triangle in the background. This will leave the crease right above the fold which you are making.
-
7
Complete the fold and then make a small fold downwards.
-
8
Turn the page to reveal a horizontal crease and a triangle on top of it.
-
9
Make two inward folds in such a way that one touches the inside of the other, and the second fold touches the outside edge of the first.
-
10
Make two outward folds in such a way that you can make the two legs of the penguin. You can either go for big folds or smaller folds considering how you want your penguin to look.
-
11
Make another fold from the top and bring it down to make up the mouth, and then turn it over from the edge so it doesn’t go back.
-
12
Add the finishing touches by using a marker to paint and draw the face of the penguin.


