How to Make at Home Bounce Lighting for Portraits
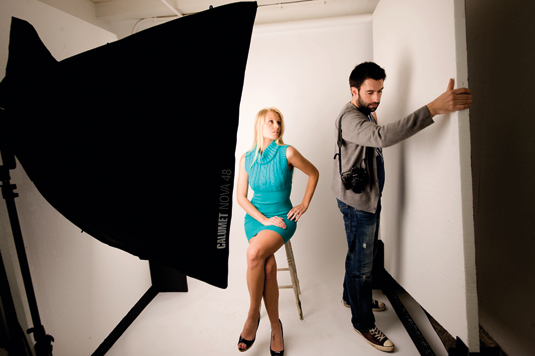
While taking a photo for a portrait, the arrangement of light is crucial and holds great importance. Your portrait can look spectacular by softening the light. Professional photographers understand the importance of bounce lighting for taking great looking photographs. Direct the main source of light so it bounces off another surface before hitting the subject. This might be tricky at first but with some practice you should not have any problems. By using this simple bounce lighting technique you can successfully defuse light and enhance your portrait’s appearance.
Things Required:
– Photography Lamp
– Camera
– Small Area
– White Cardboard


Instructions
-
1
Professional photographers always use high intensity lamps, which can produce enough light to help you get a great photo. The key should be to generate enough light which would hit the ceiling or a wall and then bounce right where you want your object to be.
-
2
Put together a small area that you can use to take portraits. You will need some depth so make sure that the area that you use has enough room to move around. Also, it is important that your work area has a low ceiling for lighting purposes.
-
3
Now setup your lighting in such a way that it does not directly hit the subject but rather "bounces" off the surface of the ceiling or wall. The goal is to reduce the level of light but still have enough to highlight the subject.
-
4
This same "bouncing" also applies to the flash of your camera. Try to angle the flash in such a way that you can get the maximum coverage through the reflection of the light. Keep this angle locked so that you can always use it for portrait taking.
-
5
Notice that the intensity of the light will be softer towards your object. This light will give your photo a natural look. Once you have mastered the proper angles for your lighting, y0u can easily experiment with different surfaces to bounce the light off for a unique shade.
-
6
If the ceiling and the walls are far away from your object, you can then use white cardboard for the same purpose. You need to install the cardboard near the object but with enough distance to prevent it from getting in your photo. You can then direct the light towards this cardboard and angle it in such a way that the light hits the object after deflection.


