How to Make Nail Stickers
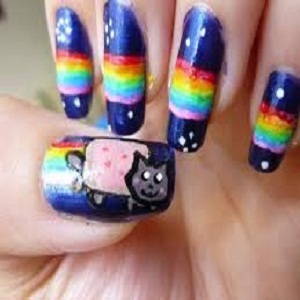
There are some crafts you can easily do at home and not only save money but also add a touch of uniqueness to them by your own ideas. These include making nail stickers and you get to make a design that nobody else has because you created it and you own it. It can also prove to be a good pastime and has the tendency to keep you glued to the activity. Go through the following simple and easy steps to design your own nail stickers and be the next neighborhood style diva.
Things you need:
– Plastic transparent sheet(sandwich roll ones)
– Nail polishes of different colors
– Tweezer
– Nail polish remover


Instructions
-
1
Flatten out the transparent sheet and secure it so that you have a smooth surface to work on. You can also put a copy of the design you want under the sheet so that you make the perfect shapes by simply tracing on them.

-
2
Use your nail polish wands or a paint brush dipped in the polish to draw the designs that you want. Make sure that the size of the shapes that you draw should be smaller then that of your nails. You can make a lot of shapes on a single sheet.

-
3
Once the design has been made, give it time to dry. This duration can vary from a few minutes to a few hours, depending on the polish and its thickness. Poke a thin tooth pick in the design to gauge the hardness. When dry, peel off the designs carefully with tweezers and store in a secure place.

-
4
To apply the stickers on your nails, apply a base color of polish on the nails , pick up the stickers with tweezers and place them on the nails. Apply a coat of clear polish to make it stick firmly. You can also add nail polish designs to the base to give a more innovative look.


- Nail polishes of different colors
- Tweezer
- Nail polish removerNext%20stop%3A%20Pinterest "Pin It")


