How to Manipulate Wire for Making Jewelry
There are many ways in which you can manipulate wire for making jewellery. There are different types of wires and each of them has its own specific purpose and utility when it comes to jewellery making.
In this article we will go through a basic technique through which you can manipulate a wire into making jewellery. We will use the practice jewellery wire to eliminate the cost factor. Once you think that you are at a level where material wastage through trial and error will be minimal, you can move on to more expensive wires.
Things Required:
– Flush Cutter
– Fine step jaw pliers
– Nylon jaw pliers
– Wigjig jewellery making jig with metal pegs


Instructions
-
1
The first step is to cut the wire to the desired length. The length of the wire should be measured with the help of a ruler before cutting. The wire will be cut with the help of a flush cutter, which has flat side and a bevelled side. While cutting, the bevelled side should be downwards. If that is not the case, a sharp cut will be left on the wire.
In this case we want a flat cut, which will be used in making the jewellery component. -
2
In the next step, a loop will be made using the flat side. This loop will be made with the help of a step jaw plier. While holding one end of the wire in the plier, turn the wire around the plier once, re-orient it and then turn the wire again over the plier surface so that a close loop is formed. Re-orientation means that you take the wire back and then around the plier.
-
3
Hold the wire by the loop and straighten it with a nylon jaw plier.
-
4
Now using the wigjig tool, we will make the pattern. There are three pegs in the pattern, but always start with two pegs to ensure ease of operation (the third peg can cause hindrance; it will be used latter).
-
5
Now put the loop end in one of the pegs, twist the wire over the other peg, before placing the free end of the wire in the space between the two pegs. Now the wire has two loops.
-
6
The wire is now based on the two pegs, and you can create a third loop with the help of a third peg.
-
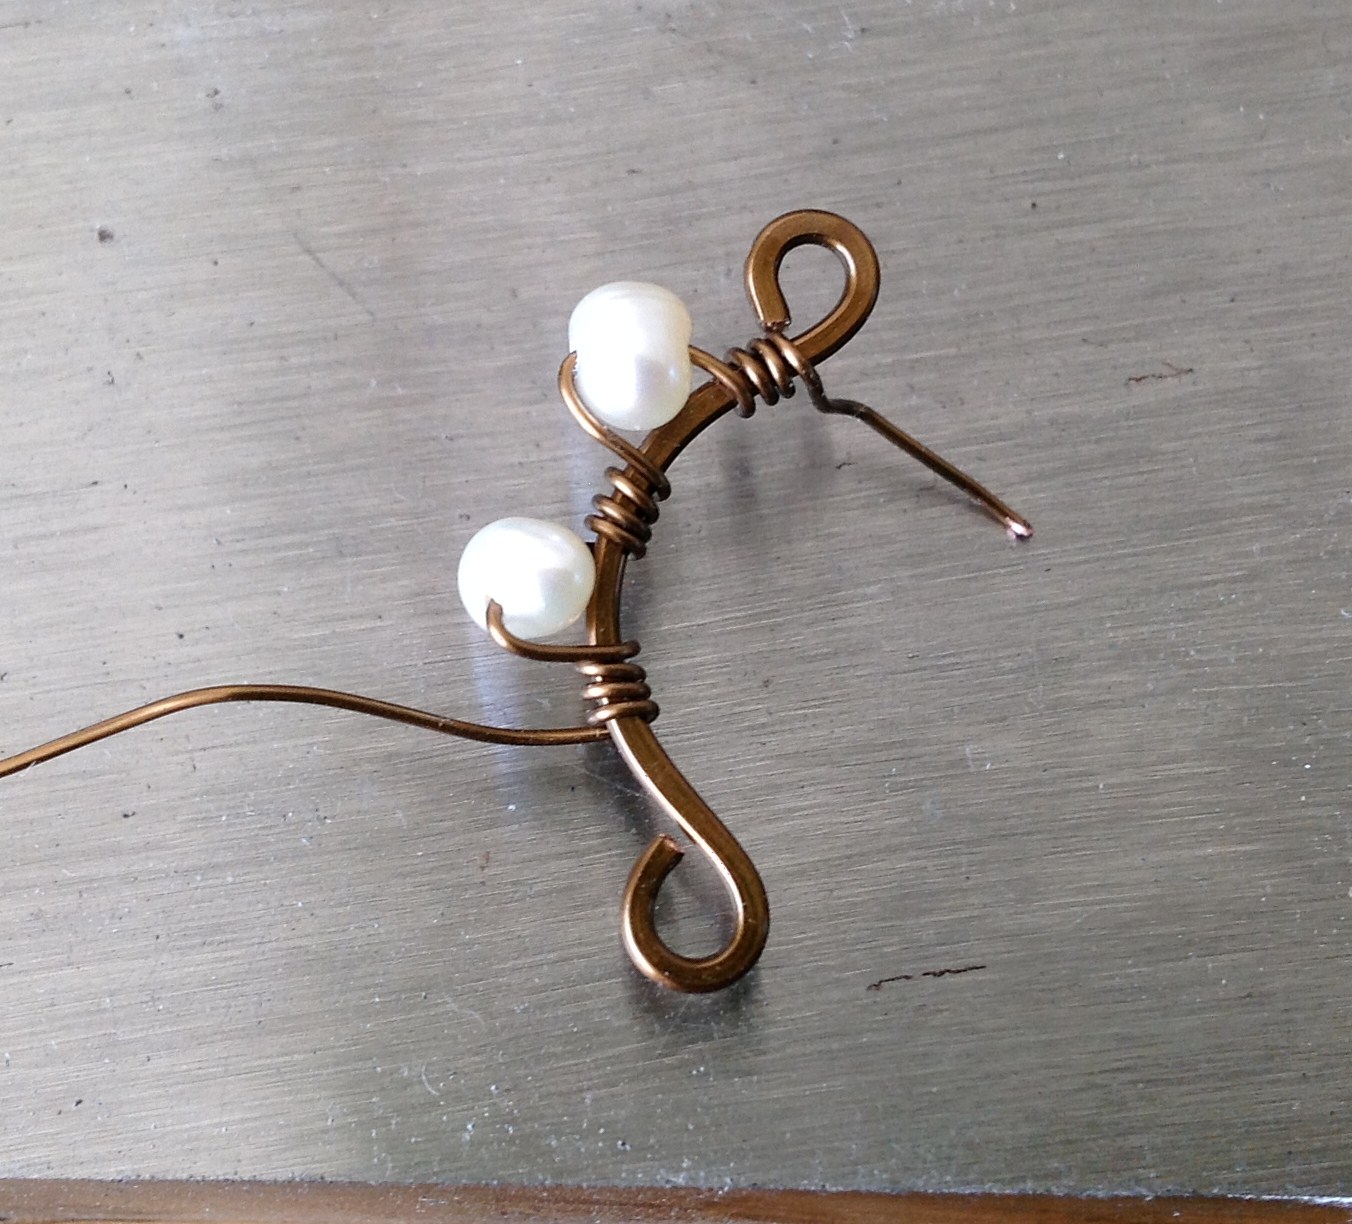
7
The final step is to smush the fitting with the nylon plier to make it flat. The wire component which is yielded is called the queen of clubs, which is commonly used in earrings and lockets.


