How to Merge Two Photographs Together
You can combine several photos into one with the help of famous computer application Adobe Photoshop. This application helps to create panoramic pictures or collages. Designers commonly use this technique in their work to merge different pictures.
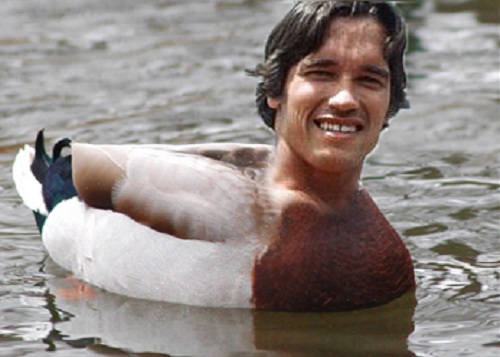
However, creating a collage is not just about combining several pictures into one. Correct collage shows mastery of the artist and demonstrates his or her ability to place pictures beautifully and intelligently so that they look stylish and more attractive.
Adobe Photoshop offers multiple ways to merge pictures and this effect can be achieved by performing simple operations.


Instructions
-
1
Install the program Adobe Photoshop on your computer and run it. Open the images you want in the program individually. Then, left click on any of the picture and select Duplicate layer («Duplicate Layer"). In the resulting window, locate the document with other images and click on them.
-
2
Open the two photos of the same size that you want to combine into a collage. Press V, to activate the Move tool, and drag both photos together. Place the image on the same level with the tool “Move”. Make necessary adjustments before merging the two pictures together in the application.
-
3
Now try to work with a mask layer. Select the layer, which was at the top and click on the picture Add Layer Mask («Add layer mask").
-
4
With the help of the “Move” tool, slide the top layer down to make it easier to work with images. This is necessary to select the length of the gradient for the mask in the future.
-
5
Find the Gradient tool ("gradient fill tool") or use the shortcut keys Ctrl + G to do the needful. Adjust the gradient either Horizontal or Normal according to your choice. Click on the upper edge of the picture that you want to fill, and while holding the Shift key, draw an imaginary horizontal line from the bottom right corner to the upper right corner. You will notice that one of the images will start to show through. Now pull the top image back up.
-
6
Flatten the layers and save the file under a different name.


