How to Mount Photographs for Display
As a photographer, one thing that you really want to do, is to display your work for people to look at. This is because, if you don’t have people looking at your work, you will never really know just how good you really are.
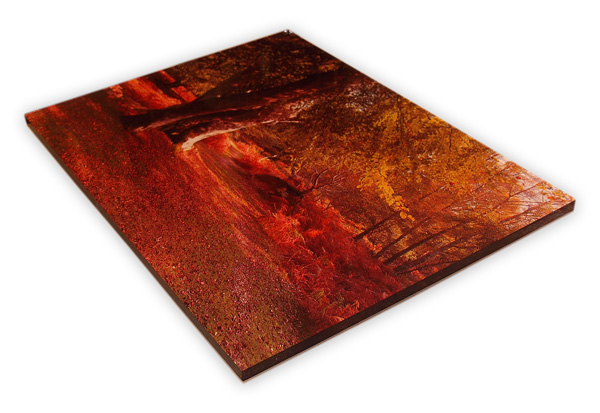
A mounted photography gives your picture that much needed finished look, and adds to over all presentation value of the image.
Block mounting is the most popular type on mounting, since it is something that can be easily done, but at the same time, it also helps your images stand out. All in all, mounting your pictures really helps give them that professional look that every photographer hopes to get out of his image.


Instructions
-
1
Measure and prepare
The first step is for you to go on and measure your mount and picture. Try and make sure that your printed picture is a little bigger than the mount, in case you have to cut it out later on, in order for it to fit the mount.
The next step is to prepare the mounting surface. Make sure that the surface of the mount is clean, smooth and without any dirt, bumps or other such things on it. In order to really get a brilliant impact, you can paint the mount, so that it matches/gets the most out of your printed image. -
2
Coat
Next, you need to go on and mount the board with some form of mounting coat. This is going to allow you attach the picture to the board rather easily.
Once you have prepared the mount, go ahead and place the print onto the board, and make sure that you get all the air bubbles and any such things out.
You much also remember to let the mount and picture dry up and stick together with ease, so that it doesn’t slip off, during your presentation. -
3
Finish up
The last step is for you to finish up the picture and the mount. Make sure you trim the edges off the picture and that there are no excess parts left on the board.
Make sure that the picture is placed perfectly and that there is nothing left to trim. Once you do this, you need to apply some solvent on the picture, so that it looks a lot cleaner and smoother when you look at it.
After all these steps are done, you are good to go.


