How to Put Graphics on a Car
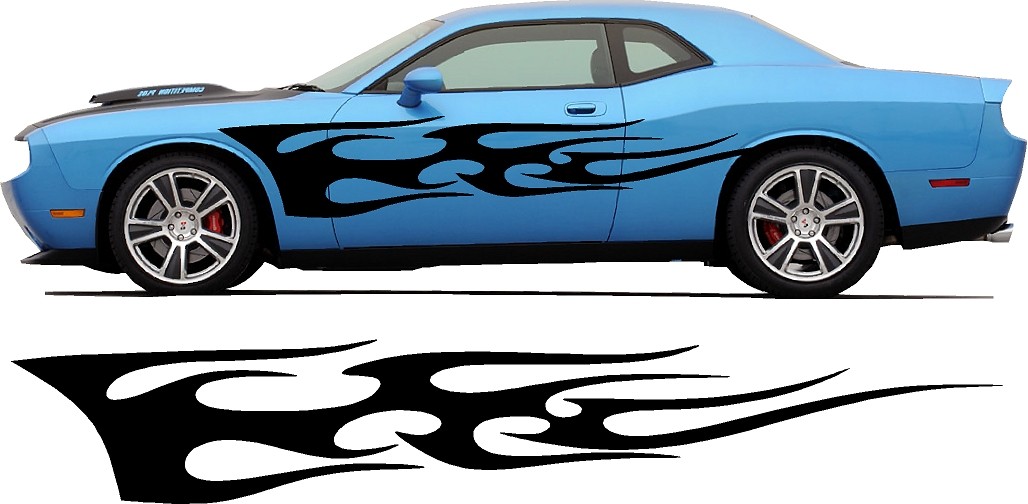
Paintwork is permanent whereas graphics are not. So if you want to change the look of your car temporarily, you can cover parts of the car with decals. Later, you can easily remove graphics to restore the original look of your car. The task of putting graphics on a car is fairly easy provided that you know the right way to do it. Here is what you will need to do in order to put graphics on a car.
Things Required:
– Mild hand soap
– Lint-free cloth
– Graphic adhesive fluid
– Spray bottle


Instructions
-
1
Select the area you will be affixing the graphic. Before you remove the back cover of the decal, place it on the car’s body and try to get a feel where the graphic will go. You may have to take help from a friend while dealing with long pieces of decal.
-
2
Now you need to clean the area that you choose in the earlier step. Prepare a mixture of 1 teaspoon mild hand soap and 1 gallon water. Wash the chosen area with this mixture and wipe clean with a piece of lint-free cloth. Make sure that no soap-water mixture remains on the panel where you will affix the decal before you move onto the next step.
-
3
Spray the panel with graphic adhesive fluid until there are no dry spots left. Use a spray bottle for this purpose. Make sure that you cover the entire area underneath and around where you plan to affix the graphic.
-
4
Remove the paper sheet masking the sticky backing of the decal. After you have removed the paper sheet, make sure that you keep the graphic as straight as possible; otherwise it may stick to itself. Spray the sticky backing with graphic adhesive fluid.
-
5
Affix the graphic on the panel which you sprayed with graphic adhesive fluid. Start at one end, slowly work your way towards the other end of the decal. Remember to affix the decal slowly and in gentle movements.
-
6
There may be creases or bubbles trapped beneath the decal. Remove these creases and bubbles, starting from the center and working your way outwards. You may have to repeat this step more than once to remove all the creases and bubbles.
-
7
Before you remove the top layer of the graphic, allow it to dry overnight. Pull off the top layer straight up when the decal is properly dry.