How to Read a Handheld Light Meter
Photography may look like child’s play, but when you get down to it, you realise that your shots are hardly as striking as the ones taken by a professional. This is primarily because of the latter’s knowledge of the technicalities that need to be considered in order to ensure that the best-possible shot is taken. The wheels and dials on the cameras are not just for show. They actually control the f-stop and shutter speed, the two things that play a key role in the quality of the shot.
A handheld light meter helps to determine the most appropriate settings for f-stop and shutter speed, which is why it is often used in professional photography/photo-shoots. Learning to use and read the light meter is really easy.


Instructions
-
1
The first thing that you need to do is to ensure that the film speed has been adjusted correctly on the ISO dial. The setting on the ISO dial depends on the brightness in the room where the shot is to be taken. If the brightness is low, the film speed on the ISO dial will be set to a higher speed in order to get a brighter and consequently clearer image, whereas the film speed is set to low in case there is sufficient light in the room. One thing to keep in mind while setting the film speed on the ISO dial for a darker room is that increasing the film speed too much will cause it to become grainy, thus affecting the quality of the shot.
-
2
Once you have set the film speed on the ISO dial, bring the handheld light meter to the area where the shot is to be taken. You will need to know the angle of acceptance for the meter, i.e. the area that the meter is able to read. You will not be able to accurately access the light conditions if you try to get the readings by using the meter out of range. You will also need to ensure that the angle of your light meter is the same as the angle at which you will be taking the shot, as this will give you the most accurate results for getting the best shot.
-
3
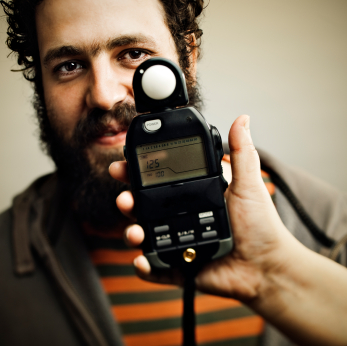
Once you have determined the angle of acceptance for your handheld light meter, point it towards the subject and press the button on it. The reading displayed on the meter will be basically telling you the most appropriate setting for the f-stop (aperture stop) and shutter speed on the camera that you will be using to take the shot.
-
4
Use the meter reading to set the shutter speed and f-stop on the camera for the best shot. Both the shutter speed and f-stop would be increased in low light conditions, while they would be decreased in bright conditions.


