How to Remove a Valve Stem on a Bike
Valve stem is a small metallic tube fixed in the rim of the tire of a bicycle or a vehicle. It is a one way valve that allows the air to enter the tire of an automobile or bike but not leave. The push pin in the centre of the valve is pushed down during filling, but as soon as you remove the air compressor, the pin comes back to its original position, keeping the air inside the tire from escaping. These valve stems tend to wear out over time and cause leakage, affecting tire pressure. You can always hire the services of a mechanic to replace the valve stem, but you can also change it at home, if you have the required tools.
Things Required:
– Valve stem removal tool
– A small Plastic Ziploc bag
– A new valve stem
– Protective goggles


Instructions
-
1
The first step when removing the valve stem of your bike is to remove the valve cap. The valve cap, present at the top of the valve stem, is used to keep dirt and debris from entering the valve.
-
2
Once you have removed the valve cap, place it in your pocket or some small plastic bag, since it is very small in size and can be easily lost.
-
3
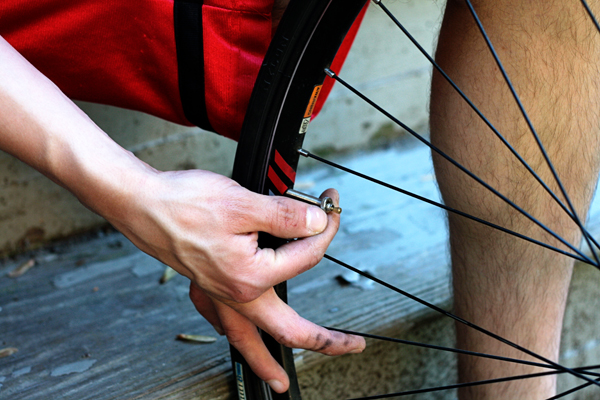
Now with the help of a valve stem removal tool, give the valve stem several counter clockwise rotations until it has been detached from the tire. This will cause the air to come out of the tire tube.
-
4
Put the valve stem in the Ziploc bag with the valve cap, as it is also a small piece that can be easily lost.
-
5
Wait until the tire deflates completely. Once the tire has been completely depressurised, fix a new valve stem in the place giving it clockwise rotations, initially with your fingers and then using the same valve stem removal tool.
-
6
Inflate the tire with the help of an air compressor and fix the valve cap on the top.


