How to Replace a Broken Laptop Screen
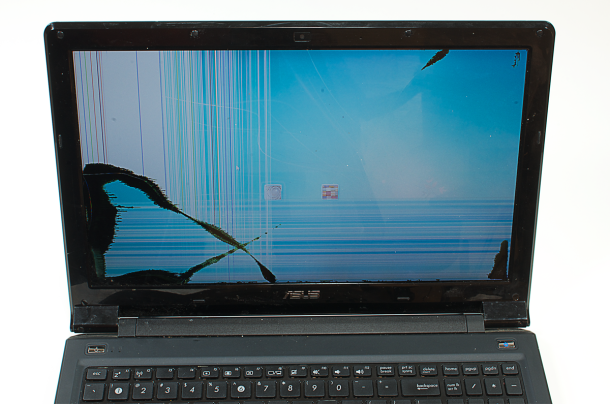
All of us know that if laptop screen cracks it is no more usable until you get it repaired by giving lot of repairing charges. But now you can easily replace laptop broken screen by yourself. I will provide you with step by step instructions to replace your broken laptop screen.
In order to replace broken or cracked screen, you need to have right tools to unbolt your laptop, some knowhow about repairing items and above all, you should have some patience as well. Given below is the process of replacing LCD of Asus UL50V. Depending upon your make and model, the internal hardware of your laptop may vary and you might have to do few more steps.


Instructions
-
1
Get tools and LCD
To start your repairing, get all the tools that are required and also LCD screen to replace. Make sure to buy LCD that is similar to your current LCD. The best way is to remove your broken LCD first, and then buy a new one according to manufacturer's label on it.

-
2
Remove the screen bezel
After having tools set, next step is to open the screen. First of all you need to remove the bezel covering the screws. You can look in the below picture that rubber cushion is hiding the screw that is holding bezel to keep it in place. You have to remove all such cushions to get to the screws under them.

-
3
After that you can take any thin blade to pass through the bottom corner and move it from one end to the other to make your way from bezel.

-
4

-
5
Remove the broken LCD panel
After that you will have LCD’s mounting brackets uncovered. Now, you can take out the screws that were screwed to make it hold. Then move LCD towards front and can disconnect the cable attached to it. Now, you have the LCD removed so it is more easy for you to buy the same LCD by looking at the manufacturer label and by checking the model number.
Note: If you are having a laptop that was manufactured before 2010 and have fluorescent backlights LCD, it would most probably have two cables connected to it.

-
6
Install the new LCD panel
When you get the new LCD, check it carefully and make sure that it is similar to your previous one.
-
7
Check dimensions, mounting brackets and connector. If all things go with the old one then you must be ready to install the new LCD. Hold the LCD straight, connect the cable to the new panel, place the panel in the lid and now screw it with the help of appropriate screws.

-
8
Test the new LCD panel and reinstall the bezel
It will be a good idea to check the new LCD before covering it with bezel. Connect battery or power cable and turn on the laptop. If it turns on and you can see the display then you are succeeded. You are all done, now you can enjoy using your laptop again.


