How to Replace Cedar Shingles
Use of wooden shingles for home decoration can be dated back to early part of the 19th century. Apart from decorative purposes, shingles were used for an additional level of insulation which in turn helps keep homes warm before fibreglass insulation was invented. There are a number of materials out of which shingles are made; cedar being on the most widely used. As is the case with any other material object, cedar shingles get damaged from time to time and thus have to be replaced.
Things Required:
– Slater’s ripper
– Hack saw
– Pry bar
– Rope for a tie off
– Nails
– Hammer


Instructions
-
1
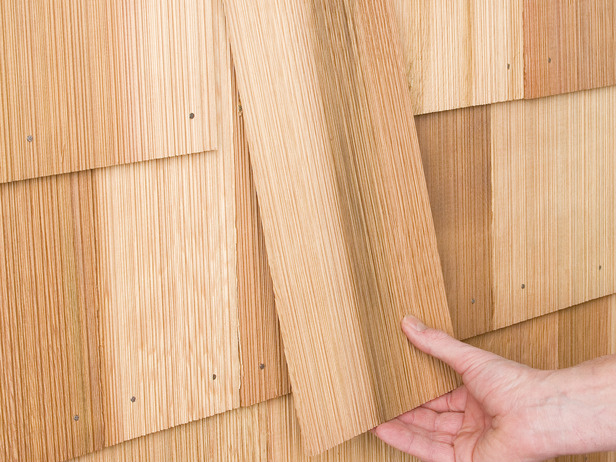
Pry loose the cedar shingle you want to replace but be careful to not completely pry it out.
-
2
In a similar manner, loosen and then lift shingles directly above and below the shingle you want to replace. This will give you access to the nails securing the damaged shingle in place.
-
3
Carefully remove the nails holding the damaged shingle in place with a Slater’s ripper. Make sure you do not hit neighbouring shingles in the process.
-
4
Pull out the damaged shingle by wiggling it.
-
5
Hammer two nails into the replacement shingle at an angle of 45 degrees to each other. You will need to drive the nails about halfway through the new shingle.
-
6
Position the new shingle at the spot which you cleared by removing the damaged shingle.
-
7
Be sure to hold the shake at a point about 1/2 inch from the point where the new shingle will be secured to the roof and then nail it in place. You will notice that it will automatically slide into the correct spot while the nails driven through it are being hammered.
-
8
If the shingle you just installed needs to go higher up the roof, you can make the necessary change by hitting the wooden bottom directly in line with the lower part of the new shingle until it reaches the desired spot.


