How to Sew a Nap Mat Cover
Babies are little bundles of joy. They have their own needs similar to or actually more than those of an adult. If your baby uses nap mats when he or she sleeps, it is not a bad idea to have more than one. This will help you when the mat is being washed.
Another option is to have nap mat covers. These are easily available in the market and you can make them at home as well to save some money. It is an easy task and one that will be fun to do as well.


Instructions
-
1
Measure the Mat
The first thing that you need to do is to measure the size of the nap mat. You will need it when you are making the cover so make sure that you get the right measurements. For making the cover, you will need to add two inches extra so that the cover can hold the mat. -
2
Fabrics
Take a sheet of fabric and cut it as per the measurements that you had taken earlier. You may want to cut more than one kinds of fabric so that you can have multiple covers. You can have a traditional kind of designs on the fabric or pick on that is different. -
3
Align
Align both fabrics and make sure that they are facing each other properly. You will need them to be well aligned so that when you sew them, there are no problems for you. -
4
Stitch
The next step is to sew the sheets together. Allow half an inch for the seam. Make sure that they are aligned well and the covering is made in proper shape. -
5
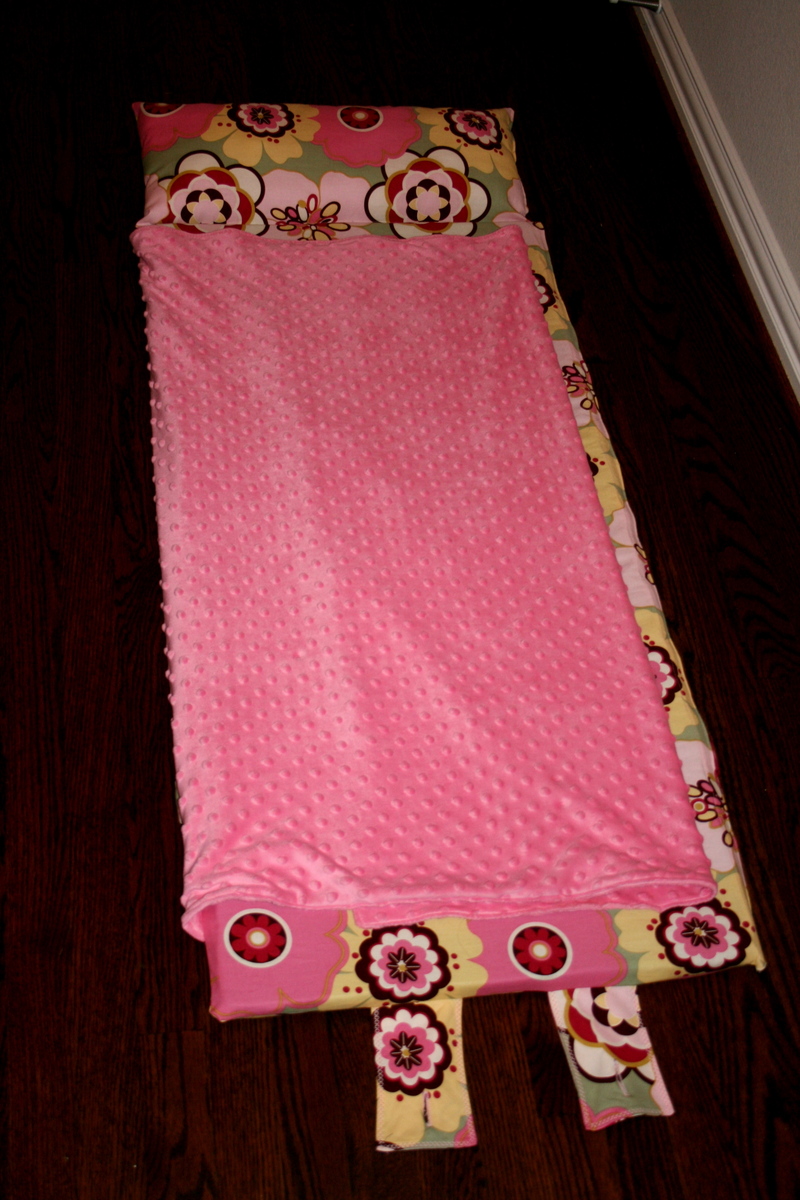
Slide in the Mat
The next thing to do is to turn it straight and put the nap mat into the new cover. To make it easy, the best idea is to have the cover open from one side. Have buttons put on it to close it when in use. Make sure that it fits in easily. Push it in well and make sure that the mat fits in well into the cover so that it not only looks good but also is comfortable for the baby.


