How to Shade with Ink Pens
Shading with ink pens requires delicacy and precision. There are a couple of methods of drawing with ink pens. One of the methods aims at an accurate and careful final product while the other method allows for more mistakes, abstraction and distortions and it is deliberately less controlled. Both these techniques are approved and authorised. Depending on the type of drawing you want to make, you can choose the one that satisfies your needs. Some people are hesitant to try ink pens painting because ink cannot be erased but the end product gives a feeling of satisfaction to the painter.

Instructions
-
1
Consider choosing an object that you want to draw using your ink pens. Sometimes, it is a good idea to look through your drawers to find an object that will be easy to draw using ink pens. Choosing the right item is an important decision. Therefore, it is advised to take your time and aim for line simplicity. Avoid complex parts and textures at all times if you are a beginner.
-
2
Now buy a lamp if you do not have one already. You will need to shine the lamp on your chosen object. Now examine the object thoroughly. If possible, try to notice its shape, size and looks. It is advised to write down your observation and highlight points on a piece of paper.
-
3
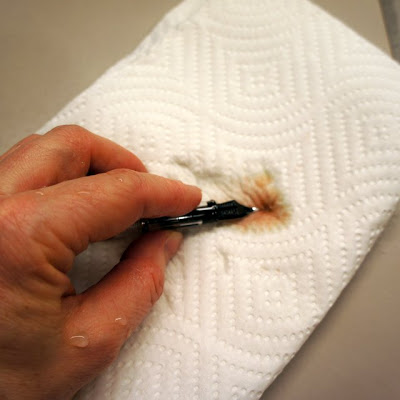
Take out pen and inks. Dip your pen in a bottle of water. Use a paper towel to absorb the extra towel. Make sure your pen is not fully saturated with water as this can cause you to dip your pen in the jar of ink.
-
4
Consider pour some ink in a small bottle cap. Test the thickness of the line and use paper towel to get rid of the excess ink. Now use the pen to sketch the outline of your selected object. It is recommended to start drawing from the upper left corner of the picture down to the bottom right corner. This method is approved for controlling the shades and colouring when making a drawing with ink pens. If possible, divide the object into small pieces and tackle one piece at a time. Let the ink dry after completing the shading to make sure you don’t blur the picture.


