How to Stencil a Wall
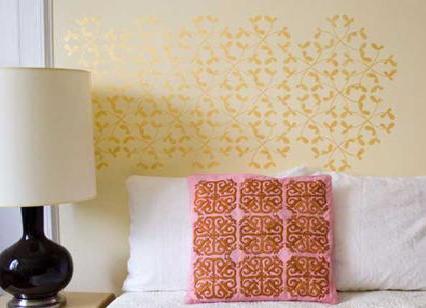
Stenciling walls is quite in vogue these days. This wall beautifying technique is not only cost effective but also gives a new ambiance to your room at the same time. And the good news is that anyone can do it without any trouble! There are thousands of different patterns that you can draw, so draw a stencil with a pattern of your choice and alter your walls in your own way.
Just read the step by step guide below on how to stencil a wall and start doing it now!
Things Needed:
– Card Board
– Painters Tape
– Wall Stencil Spraying Glue
– Paint buckets
– Thin Paint Brush
– Squatty Paint Brush
– Cotton Cloths or Newspapers
– Pencil
– Foot Ruler
– Ladder

Instructions
-
1
Marking the area:
Identify the area on the wall that you want to stencil and then mark that area with pencil and foot ruler keeping in view that the lines are drawn in symmetry.
-
2
Drafting and crafting the stencil:
The second step is to draft and craft your stencil. So first choose the design that you want to mold on the wall. Then take a piece of paper and draw the design on it. Practice drawing and cutting the pattern till the time you are able to cut it nicely and properly. Once you are able to cut the pattern in the right shape, draw it on the card board in the same way and cut accordingly.

-
3
Stenciling:
Now comes the stage at which you will actually stencil on the wall. So first identify the center of the wall and position the stencil’s middle on that point. You may also use painter’s tape to attach the stencil with the wall. Make sure that it is aligned rightly.
Take the cut out card board and draw the design on the wall with the help of a pencil working from the center of the wall and then outwards. Use a ladder to reach the top sections of the wall.
-
4
Covering the floors:
Just before starting the painting session cover the floors with a piece of cloth or some newspapers. This will help keep the floors from getting stained with the dripping paint drops.
-
5
Painting:
The final step is to paint in the desired stenciled areas. Now you have got two brushes the thin one and the one that is short and thick. So start by dunking in the thin paint brush first. Begin by first painting the outline on the entire wall and start from the top of the design pattern. This may take a little while, so be patient!
Now after painting the outline for once, apply another coat. After two coats, leave it to dry.
Once dried, you can now use the squatty brush to paint the inner sides. Again apply the second coat and work out in the same manner all over the wall.
Here your wall stenciling session is complete.

