How to Take the Video Card Out of a Sony VAIO Desktop
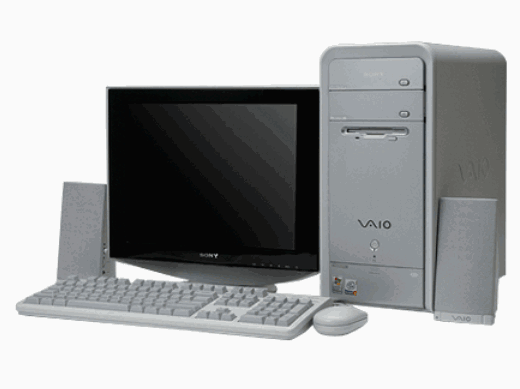
VAIO stands for “Visual Audio Intelligence Organizer” and is a term introduced by Sony for its computer brand. Sony VAIO computers have become really popular in the recent years and because of their high quality performance, people are ready to bear even high costs compared to many other computer brands available in the market.
Many Sony VAIO owners are often inclined towards upgrading their video cards, due to high requirements by many video games and other video format files, such as in MKV video formats. So, if you have a VAIO desktop computer and want to upgrade its video card, then you will have to first remove your existing video card from the computer.


Instructions
-
1
Turn off your computer and disconnect it from the power source, by unplugging the power cord from the computer supply case. Remove all other plugs from the back of the computer in order to easily remove your video card.
-
2
You may need to use the screwdriver to take off all the screws that are holding the side panels of the computer casing. Make sure you only unscrew the panel which is facing the front side of the mother board. If you do not know which side to open, then you can open the right panel, when you are facing the back of the computer.
-
3
If you do not find screws at the back of the casing, then you may have to push the casing buttons to take off the side panel.
-
4
Lay the casing down with motherboard facing you. Now locate your video card from the expansion cards installed on your motherboard.
-
5
You may need to press the clip at the side of the card to take it out of the motherboard. In some cases, the video card may need to be unscrewed from the casing.
Slide it slowly out of the motherboard and if you need to replace it with a new one, then place the new card over the slot and push to put it in place.


