Tempering Chocolate without a Machine
Most recipes for home-made chocolate candy call for tempered chocolate, and while this may seem like a mysterious and convoluted process, it’s really not that difficult, and can easily be accomplished at home without a machine.
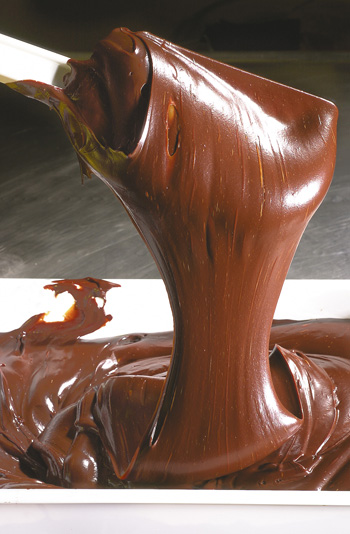
Good-quality chocolate is marked by an attractive shine and smoothness, and emits an appealing snap when broken. However, these properties often get lost when chocolate is melted, usually for the purposes of making dipped or moulded chocolates.
This occurs because the fat crystals in the chocolate are realigned by the heat, and the chocolate is thus taken “out of temper”. In order to retain the quality and texture of the chocolate, its temperature needs to be carefully controlled while melting, and this process is known as tempering.
Things Required:
– One pound of chocolate
– A chocolate thermometer, or an instant-read thermometer
– A rubber spatula
– A metal or glass bowl
– A saucepan


Instructions
-
1
Begin by chopping up your chocolate – ensure that you use blocks or bars of chocolate, as chocolate chips are made to withstand higher temperatures and are not suitable for tempering. Tempering chocolate is easier if you use large amounts as opposed to small quantities of chocolate. For this reason, it is best to use at least a pound, and you can always store any extra chocolate for later use.
-
2
Fill the saucepan with one inch of water, and bring it up to a simmer, making sure that it does not begin to boil. Place the bowl on top of the saucepan, making sure the bottom of the bowl does not touch the surface of the water, and your double-boiler (otherwise known as a bain-marie) is good to go.
-
3
Next, place 2/3 of your chopped chocolate in the top of your double-boiler, and proceed to melt it. You will need to clip your thermometer to the side of the boiler, so you can keep a check on the temperature of the chocolate. Keep stirring gently and continuously with your rubber spatula, to distribute the heat, and allow the chocolate to melt evenly.
-
4
Monitor the temperature of the chocolate carefully – for dark chocolate you will need to bring it up to 115 degrees Fahrenheit (46 C), and for milk and white chocolate you will need to bring it up to 110 degrees Fahrenheit (43 C). Allowing the chocolate to exceed these temperatures will ruin it, so extra care is required at this point. Once it has reached the required temperature, take it off the heat immediately, wipe the steam off the bottom of the bowl, and allow it to cool on a heat-proof surface.
-
5
Then, add the remainder of the chopped chocolate to the melted mixture, and stir them in until they melt and the mix becomes smooth. This process is known as seeding, and helps bring down the temperature of the chocolate. Keep stirring with the spatula until the temperature of the chocolate is just below 84 degrees F (29 C).
-
6
Next, the chocolate needs to be re-heated, so put it back over the warm water for around 5 to 10 seconds, remove it, and stir it. Repeat this process until the mixture reaches 88-89 degrees F (31 C) for dark chocolate, and 87 F (30 C) for milk and white chocolate. Maintaining the temperature is crucial to tempering, so make sure you do not allow the temperature to rise above 91 degrees, and do not leave the bowl over the water for long.
-
7
The chocolate should now be tempered. You can test it by spreading a spoonful of the mixture thinly on a piece of wax paper, and allowing it to cool. If the resulting chocolate is shiny, smooth, and has a crisp snap, it has been tempered to perfection.

