How to Tie a Bowline One-Handed
Knowing how to tie a one handed bowline knot is very important for people who are professional climbers. Though it is not traditional bowline knot as its grip and overall level of protection separates it from the traditional bowline one handed knot. It is also very important for the people who camp in the jungle and need ropes and other related things for protection. In water rescues, this bowline one handed knot is also widely used. Basically it gives extra strength and grip to rescuers while pulling someone up from the side of any mountain.


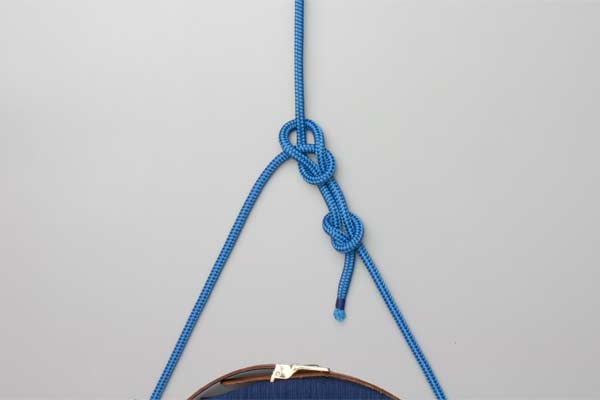
Instructions
-
1
One handed bowline
One handed bowline is very useful in an emergency or rescue situation. If you tie it on the waist to drag an object, it will give you maximum grip to hold it tight. While tying this knot, you still need to be careful. There are several methods to tie the knot, but if you are a beginner and do not know much about ropes, you can always start tying the knot by wrapping the line around your waist. This will give you an easy way to hold the rope while being on the opposite side of the rope. Being on the opposite side of the standing part, you can see the rope as well. You need to make sure that you tie the knot from at-least 6 inches of the line while you grip the working end. -
2
Releasing line from your hand
You also need to see that you do not release the line from your hand. Grip the rope with tight hands and try to bring the working end over the standing part. -
3
Standing part and back into your chest
After holding the line in your hand, now you need the stand part and back into your chest. It will create a loop on your wrist as you need to pass the line around the standing part of the other side of the line. -
4
Wrapping around the standing part
After the standing part and back into chest, its time to wrap around the standing part and tie the knot tightly. Grab the working end and pull hands towards through the loop of the wrist.


