How to Use a USB Flash Drive with Your Windows Computer
Technology has changed each and every thing. There was a time, when people used to have floppy discs. These days, the computers hardly have such discs, because they are replaced with USB flash drives.
USB drives are far quicker, and hold enough space to store considerable amount of data. External memory is very important, no matter how large hard disk your computer has.
A virus could destroy the entire data at any moment. So, if you have some important data in your hard drive, save it on a flash drive as a backup.
The USB drives are also extremely useful, when it comes to transferring data from one place to another. One does not need to be an IT expert to use such drives with the Windows computers.


Instructions
-
1
First of all, make sure both the USB drive and port are not damaged. A lot of people don’t really care about the flash drives, and put them in ordinary boxes. Remember, these drives are sensitive, and could be damaged easily.
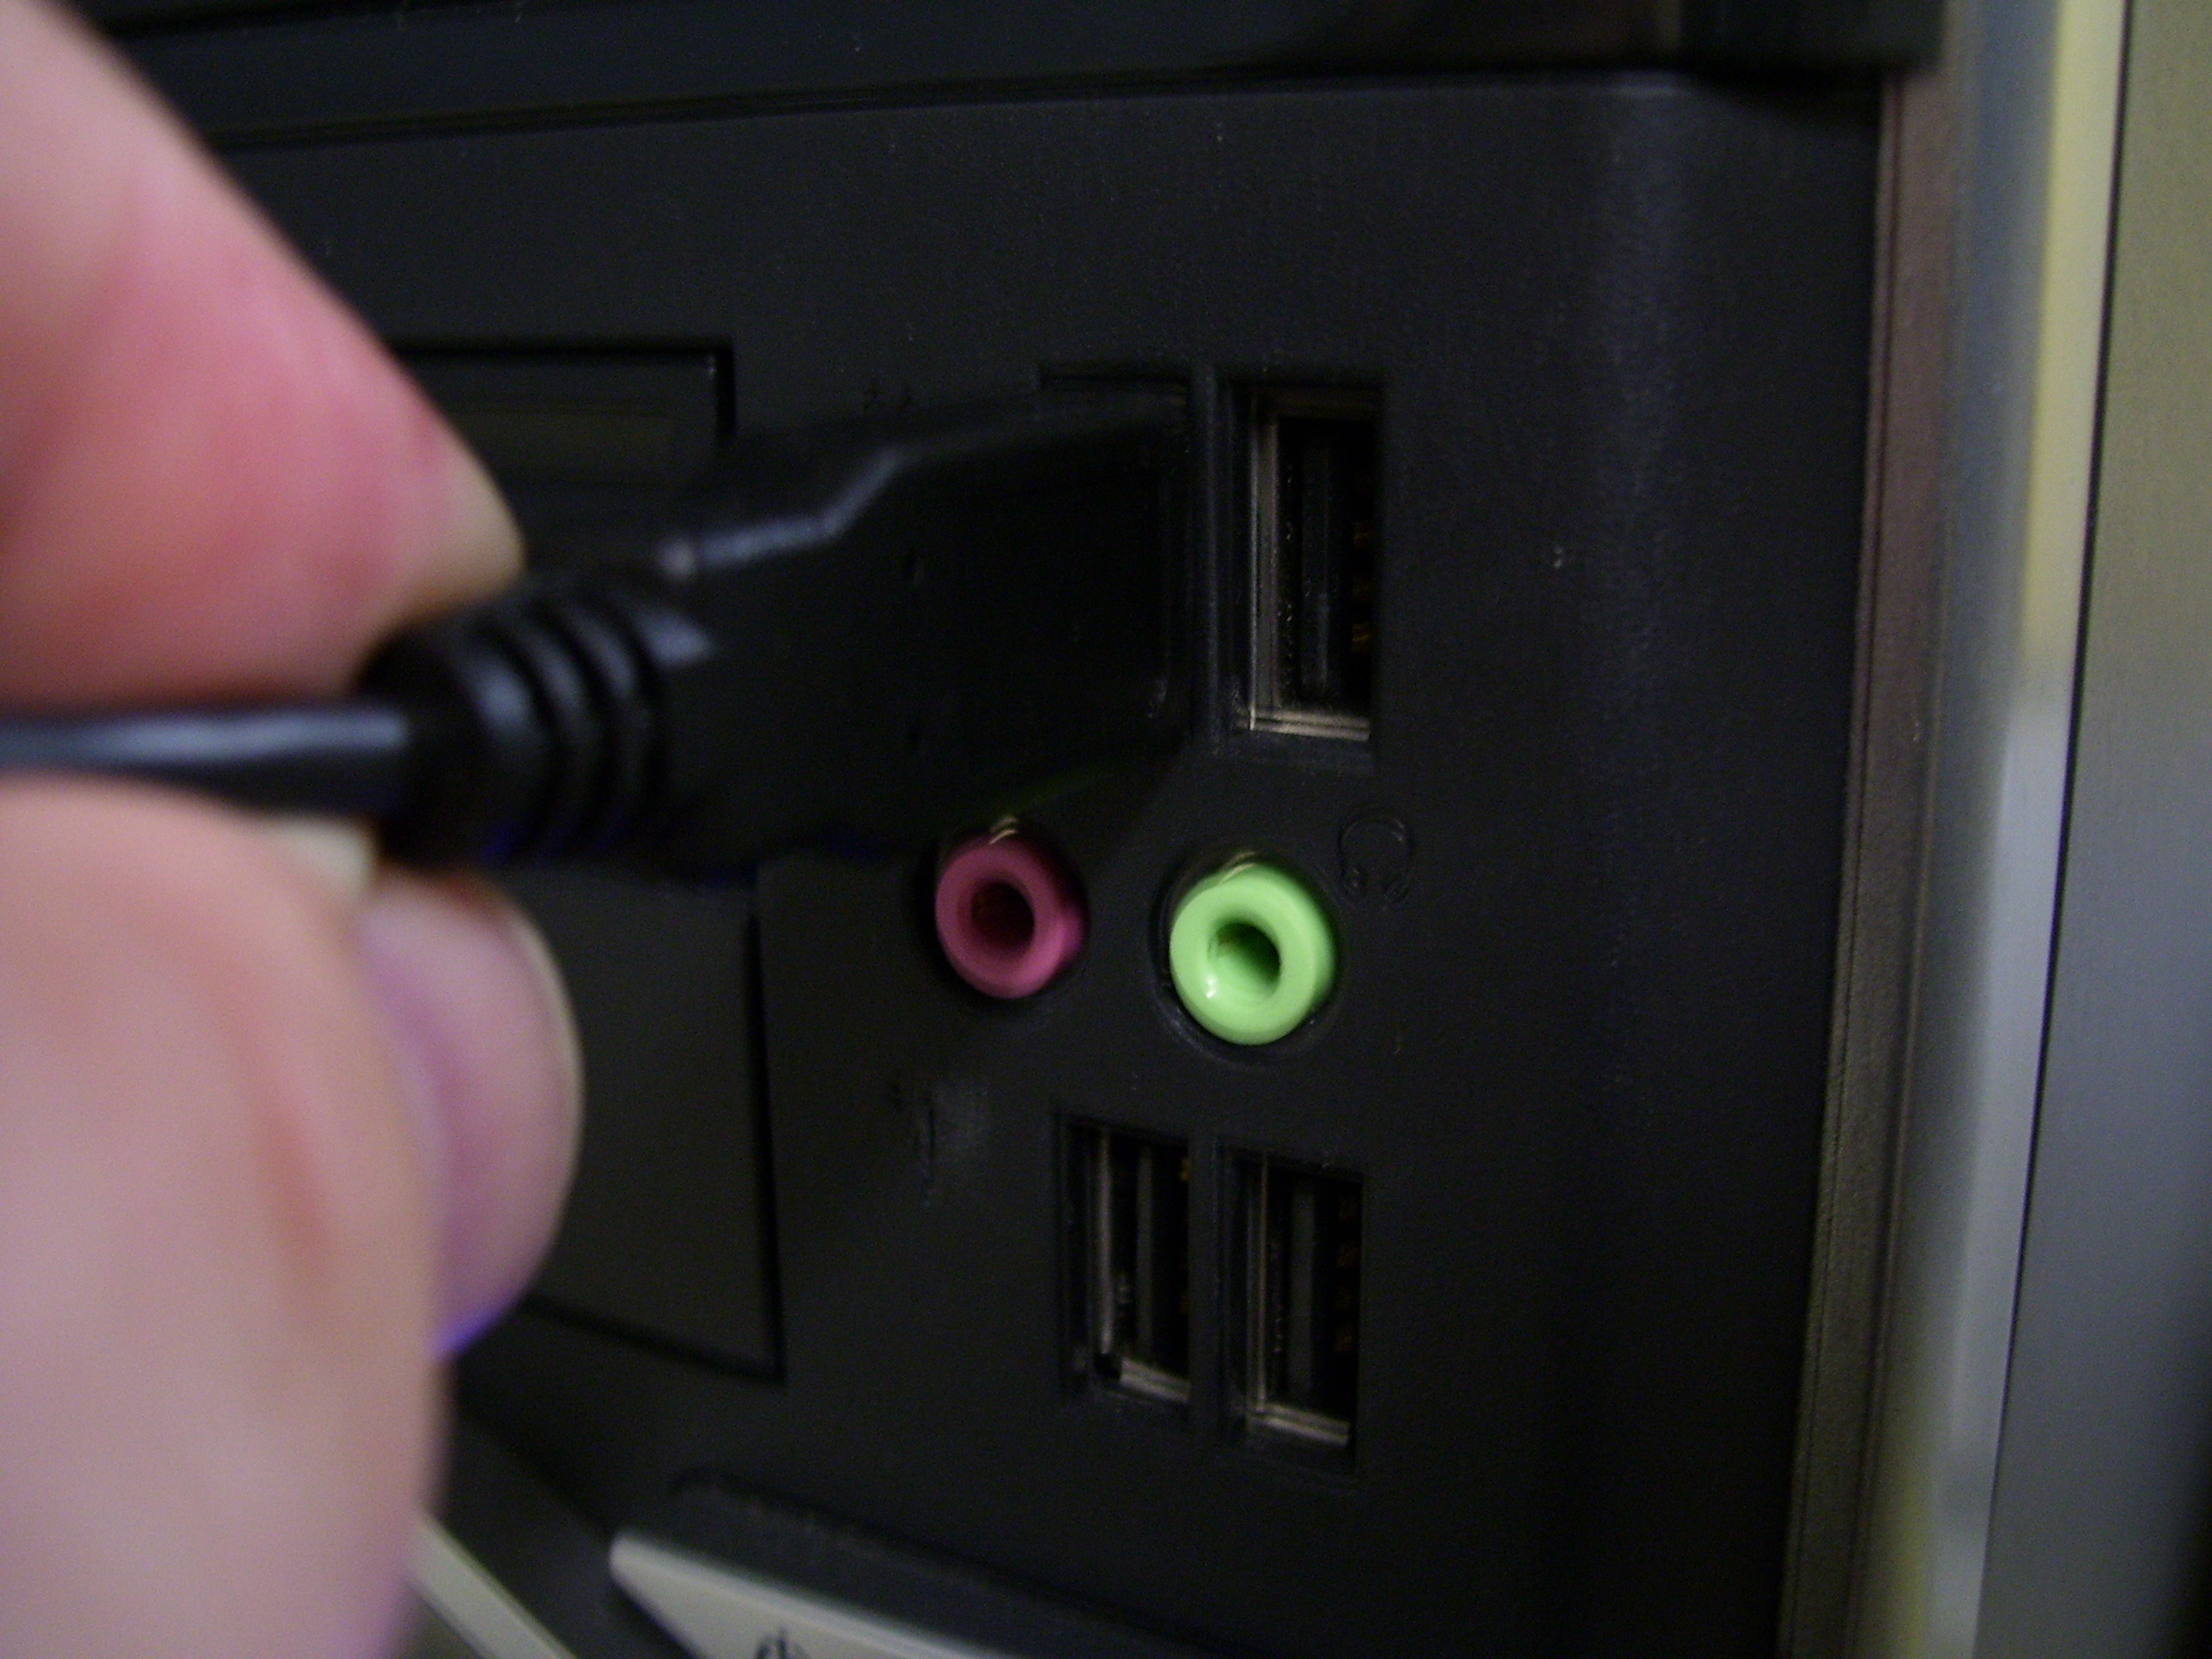
Now, plug it into a USB port. A Windows computer may have several ports, and you can plug it into any one. When plugging in, make sure you are holding it properly.
If it is not going in, you may be gripping it improperly. Switch sides, and try again. There is no need to apply extra force, because this could damage your USB. -
2
You don’t need any software to access the conent in a USB, as they have the ‘Plug n Play’ option. As soon as you insert the device, the computer will start reading it.
If you don’t have the latest system, don’t insert the drive with a large memory. The system may find it difficult to play flash drives with a large capacity. The older ports may also not support the latest drives. -
3
Look at the lower right hand corner of the screen, next to the clock. A new icon will appear, telling you about the safe insertion of the drive. Once the system starts showing green arrow as the icon, the drive is ready to use. A message will also appear to notify you.
-
4
Open ‘My Computer’. Alongside other build-in hard drive formations, you will find the USB drive. Usually, it has the name of its creator on it.
Scan it for viruses before opening. After making sure that there its virus free, open the drive with a double-click. Copy the files/folders, and save them in the hard drive.
Gently remove the drive. To be more careful, right-click the USB icon lying at the lower right side of the screen, and choose ‘Safely Remove Hardware’ option.


